

Field to Frozen: Stock Your Freezer with Kale ... One of the Greatest Superfoods!
Jun 29th 2016
Over the last several years, kale has gained in popularity as one of the most nutritious superfoods. Kale is known as a superfood because it is packed with vitamins and minerals that are essential to our health and has more antioxidants than most other fruits and veggies. One of the benefits to eating kale is that it can be prepared virtually any way you like. Serve raw in a salad, sauté with olive oil and garlic, boil in soup, grind up in a smoothie... the options are endless.
If you want to load up and have a readily available supply of fresh kale any time of year, the best storage method is to vacuum seal and freeze it. Following these simple steps to store your kale will keep it fresh up to five times longer than storing in a traditional plastic zipper bag.
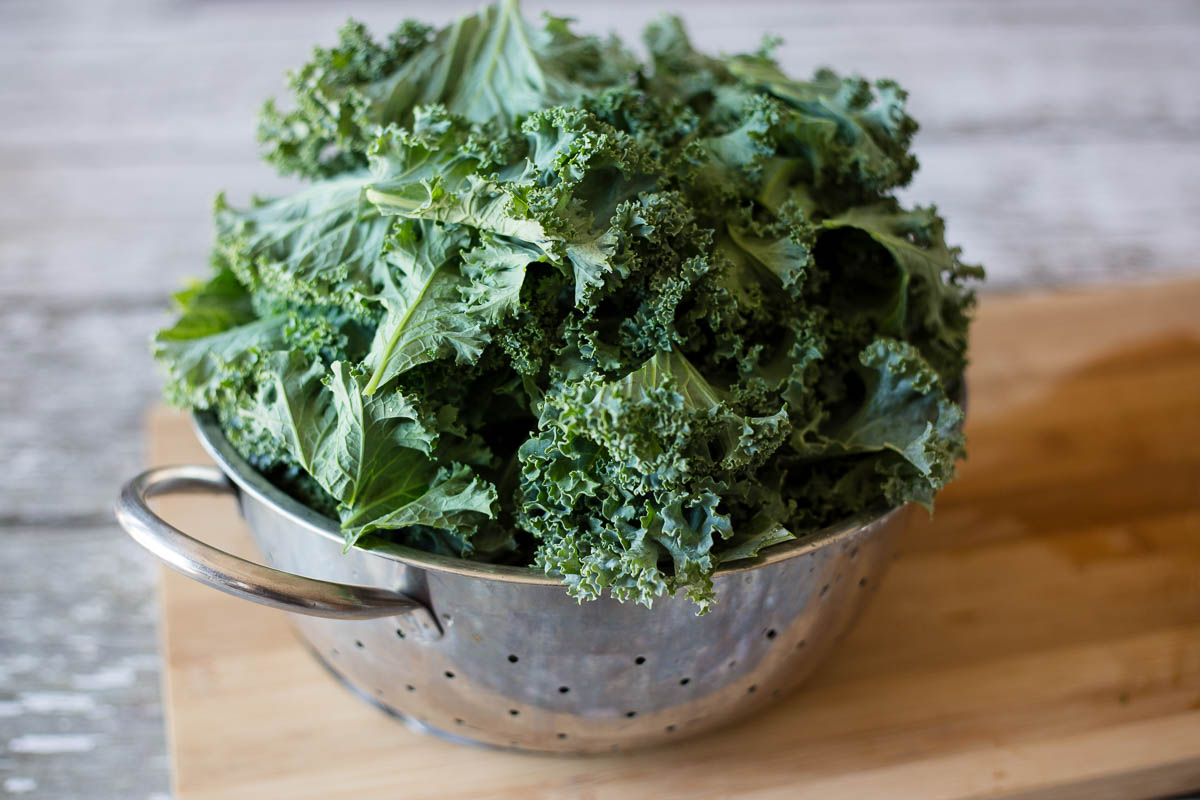
- Whether you grow your own, pick your own or buy them at the grocery store, make sure to select fresh and crisp kale leaves. Once kale begins to wilt, they won't keep the same fresh taste once frozen.
- Thoroughly rinse the kale to wash away dirt, bugs or other foreign objects.
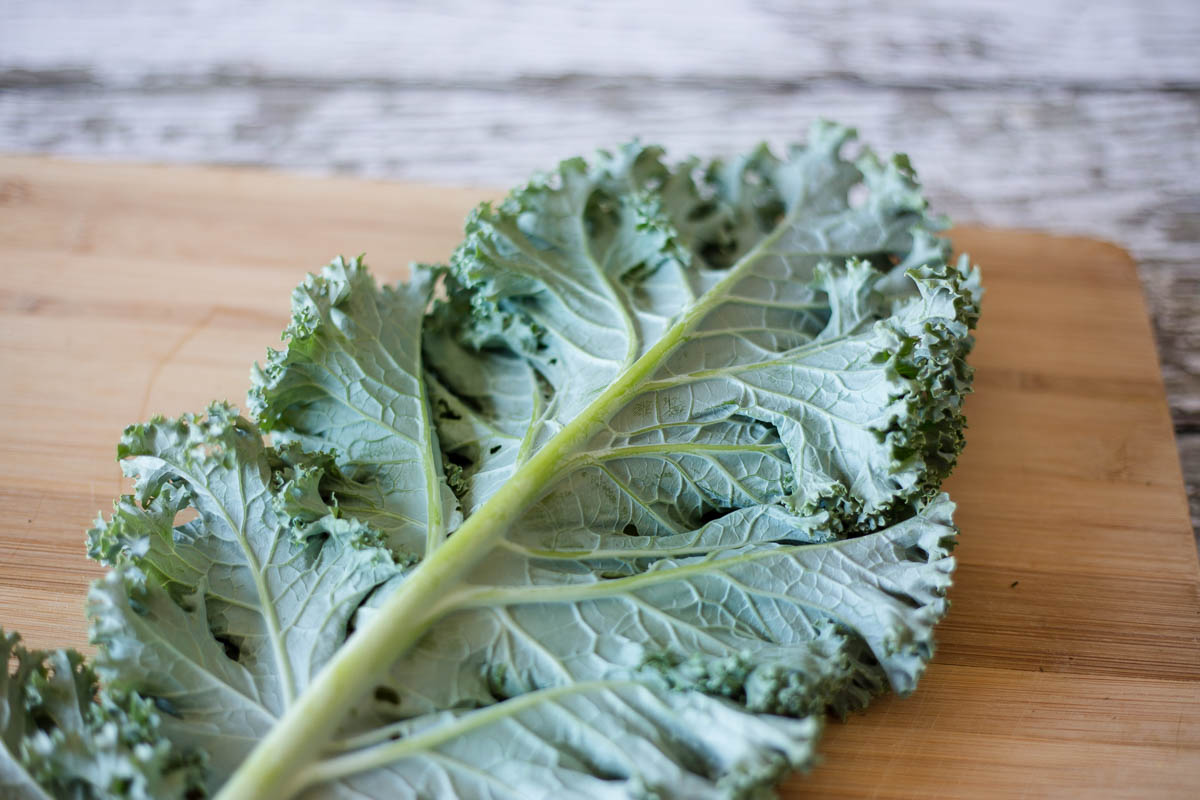
- After the leaves have been rinsed and drained, lay the leaf top-side down on a cutting board.
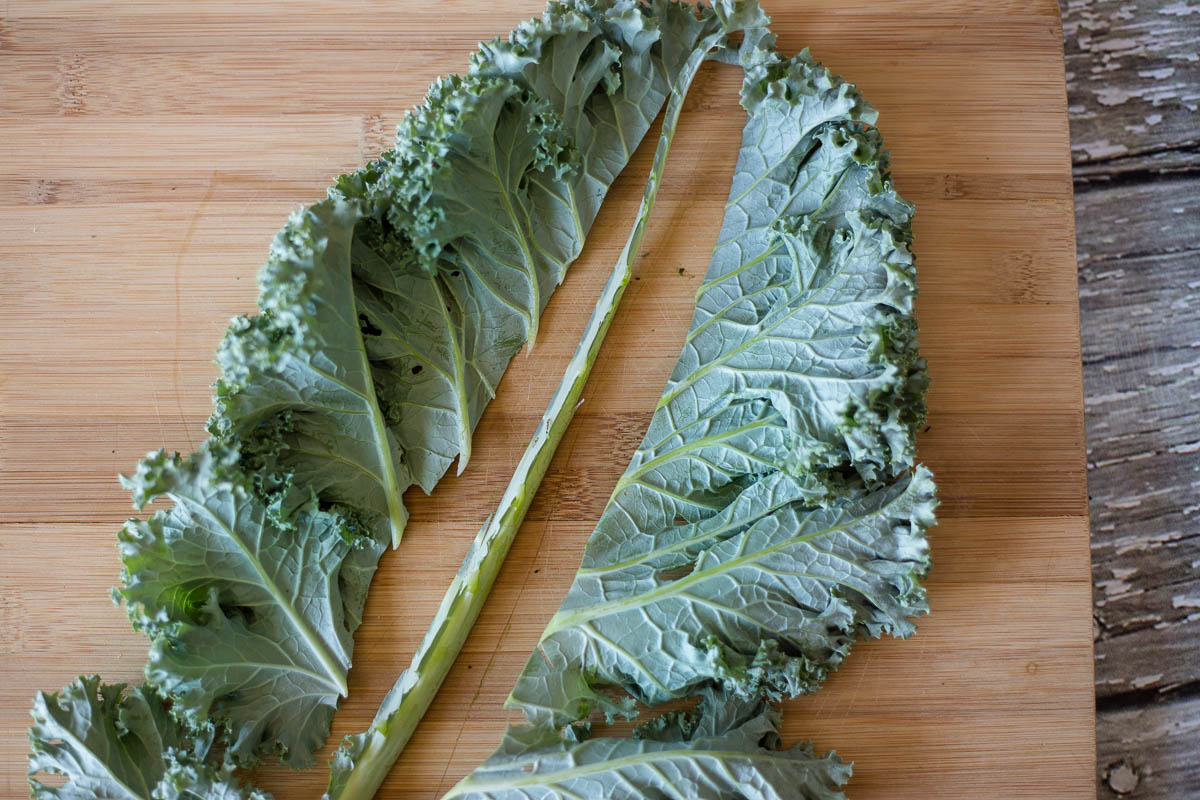
- Using a utility knife, cut the stem from the leaf. It is easy if you just follow the rib right along the edge on both sides.
- If you prefer, you can now cut the large leaves into smaller pieces.
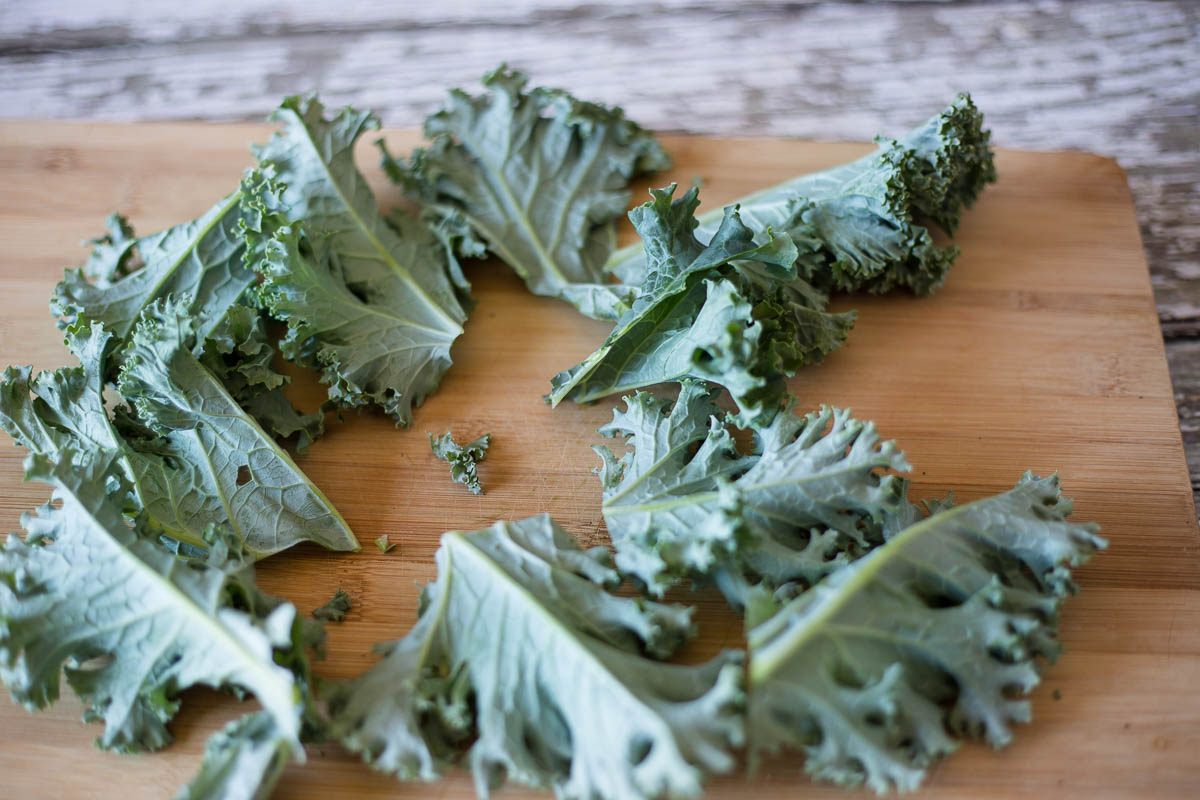
- Once the greens are cut up, the next step is blanching.
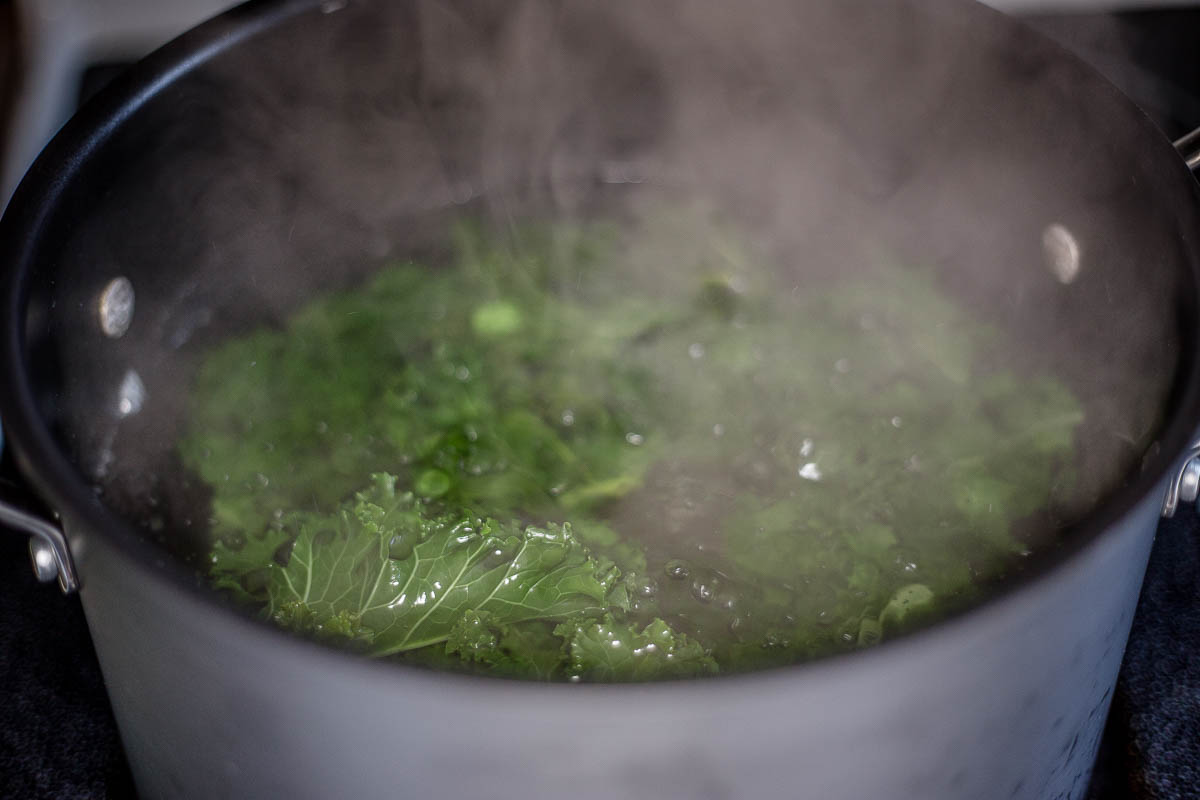
Blanching is an important step when freezing certain green vegetables. Kale is one of the green vegetables that contains enzymes and bacteria, that can break down the nutrients, flavor, and texture over time in the freezer. Blanching will destroy the enzymes that cause this reaction. Blanching will also slightly soften the kale and some prefer the softer texture it makes the leaves.
- Place the greens in a boiling pot of water for 2 minutes.
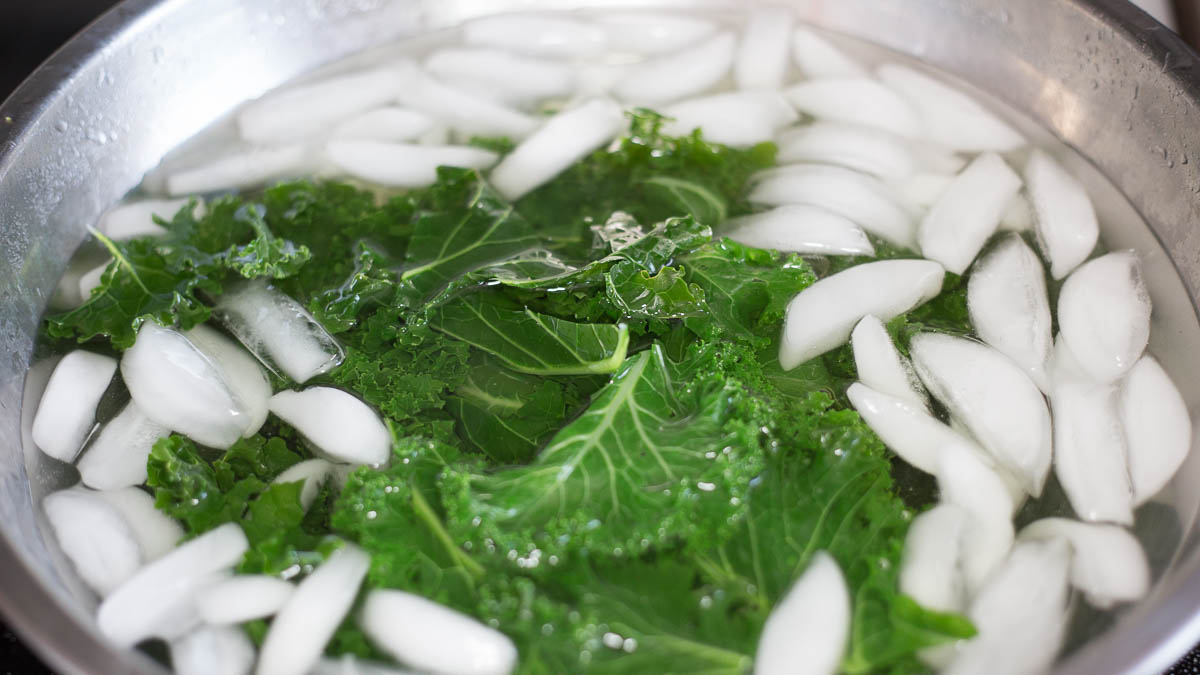
- After boiling for 2 minutes, remove the kale using tongs and place in an ice bath for 2 minutes. This will immediately stop the cooking process.
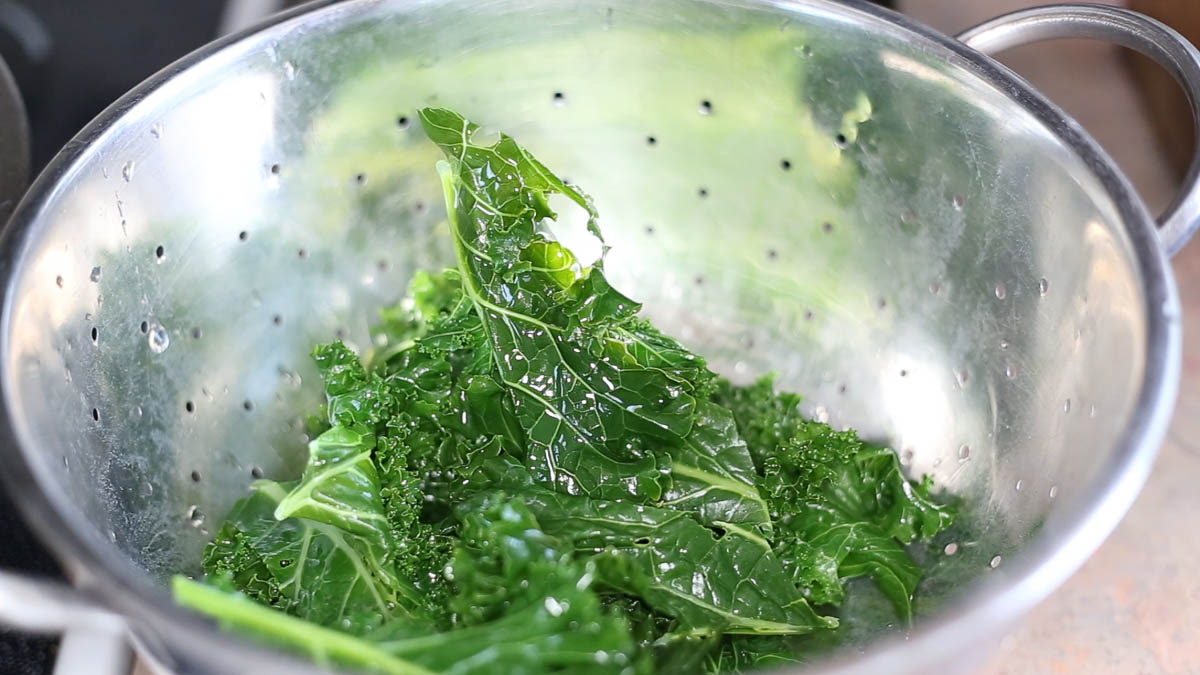
- After the 2 minute ice bath, remove all of the greens and place them in a strainer to drain. Try to remove as much excess water from the leaves as possible.
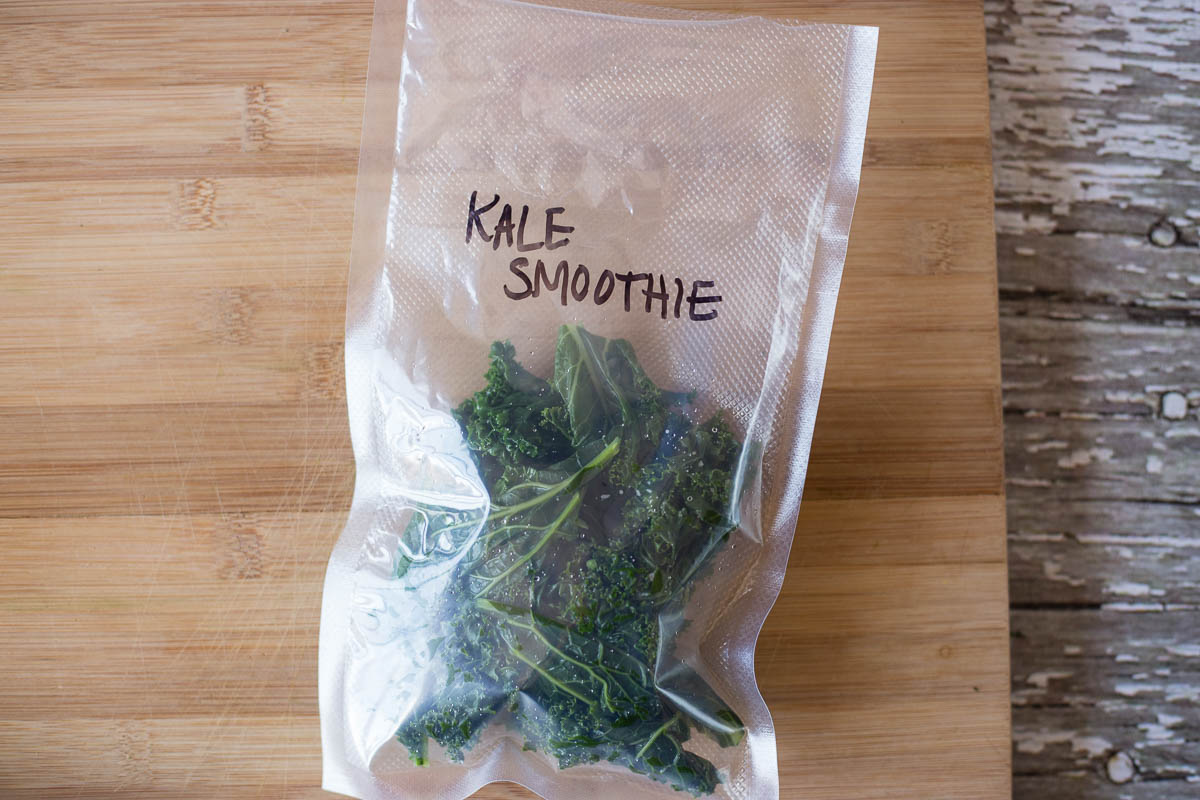
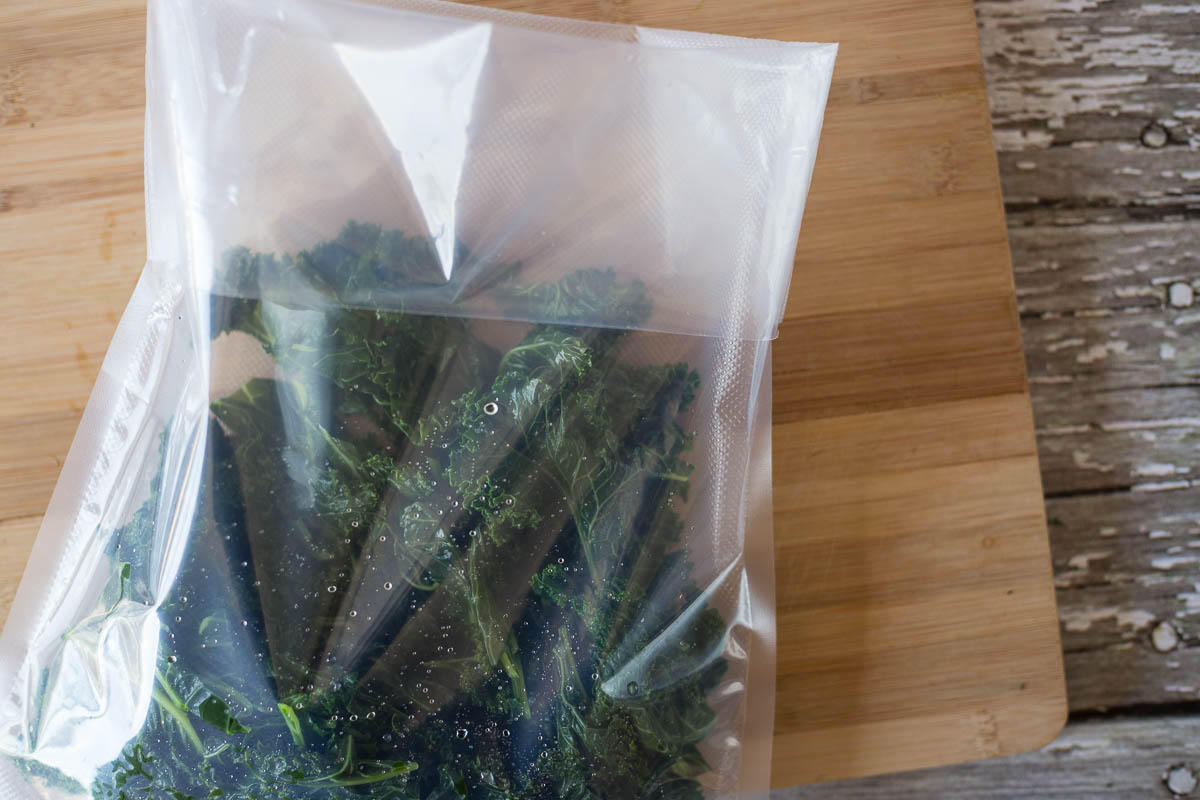
- Now, fill your food vacuum sealer bags with kale.
This is a great time to portion out the kale into how you intend to use in the future. We put some into small 6" x 10" pint size bags for individual smoothie portions. You can take the frozen kale directly from the bag into your blender. We also packaged much larger portions into 11" x 16" gallon size bags to make larger family size recipes.
- Using your food vacuum sealer, seal all of your bags.
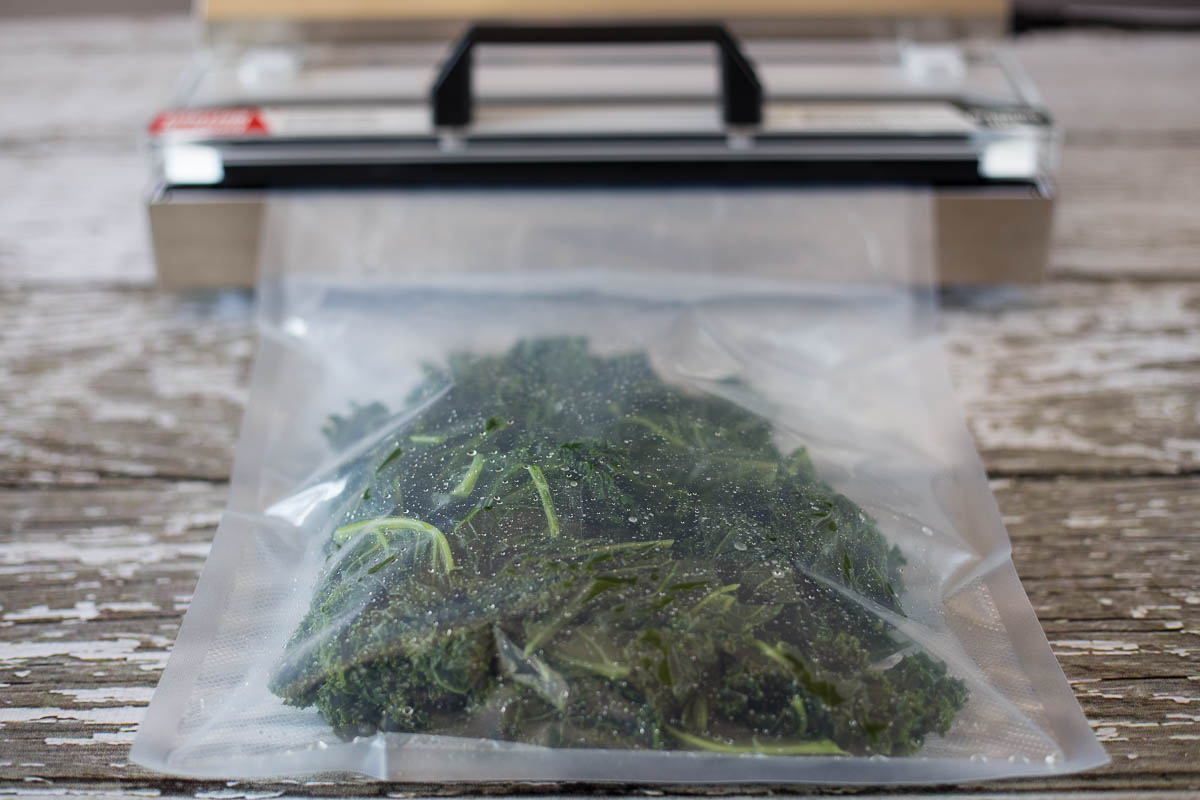
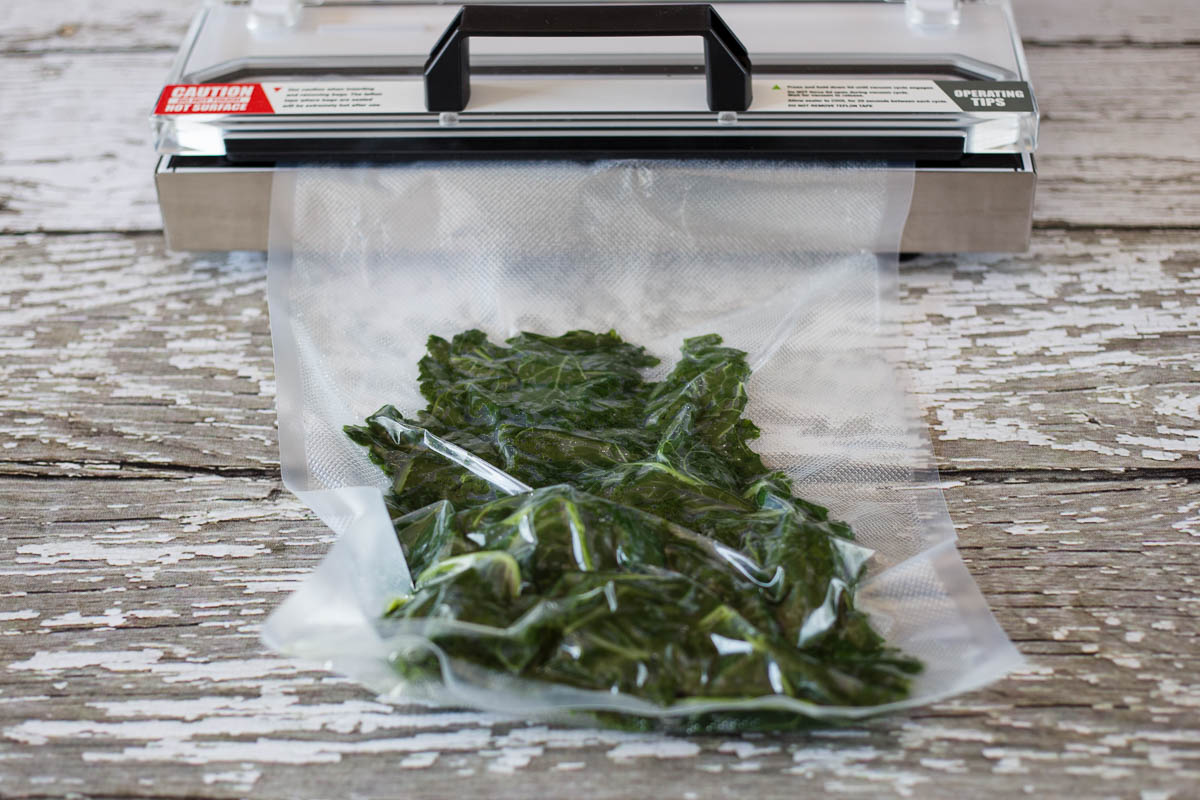
- Once your bags have been vacuum sealed, place them in the freezer.
Your vacuum sealed kale will stay fresh in the freezer for approximately 2 years.
Do you have any frozen kale recipes? Let us know, we'd love to share them!
Want to see the step-by-step process in action? Watch it here:
Check out our next 'Field to Frozen' Blog: Corn