Chamber Vacuum Sealing with Avid Armor: Your Ultimate Guide
Posted by Avid Armor on Jul 26th 2024
If you want to keep your food fresh longer and save money, you’re in the right place. Today, we’re talking about chamber vacuum sealing with Avid Armor. This method helps you store food better and reduce waste. Ready to learn how? Let’s dive in!
How Chamber Vacuum Sealing Works
Chamber vacuum sealing is a game-changer. Unlike the traditional edge sealer that removes air from the bag only, a chamber vacuum sealer removes air from the entire chamber. This means it can handle liquids, moist foods, and delicate items without the risk of crushing them.
Here’s the scoop:
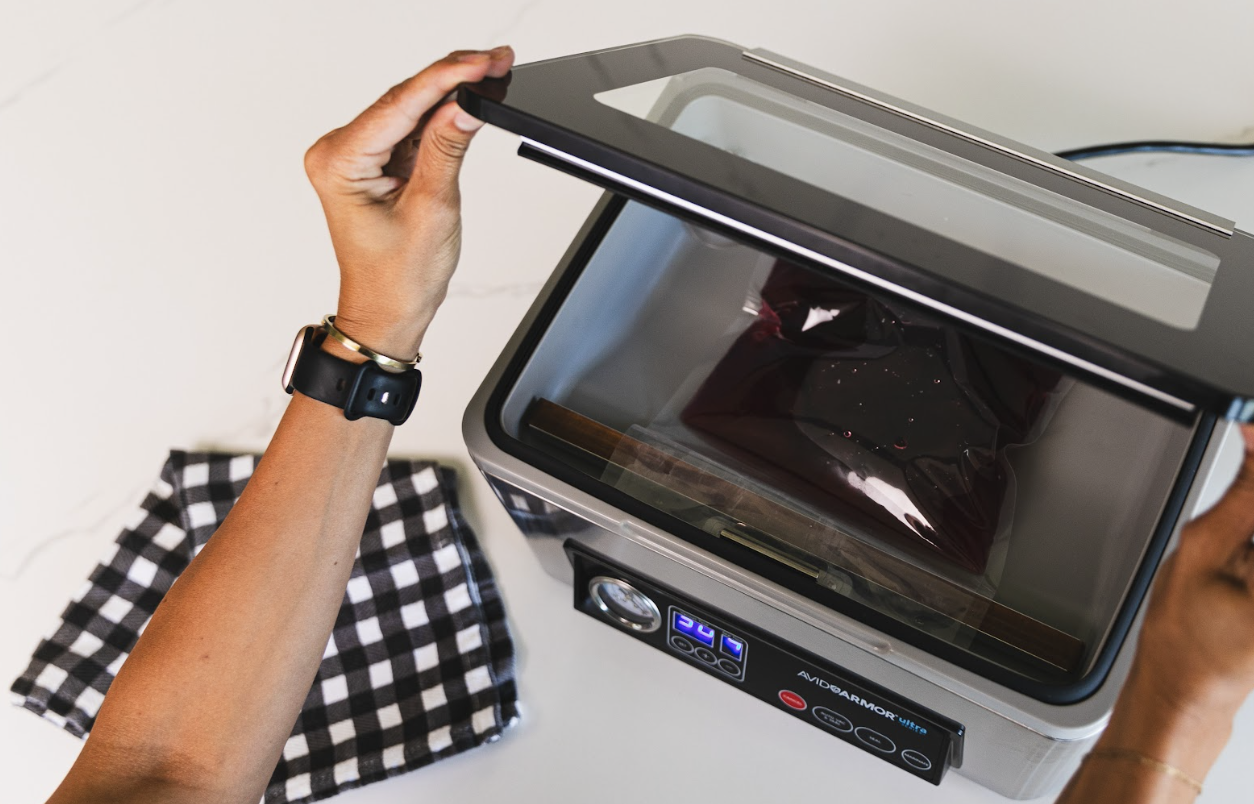
1. Place Your Item in a Bag: First, put your food item into a vacuum sealing bag and place it in the chamber.
2. Close the Lid: Once the lid is closed, the magic begins!
3. Vacuum Process: The machine removes air from the chamber, which includes the bag. This ensures an even vacuum around the food.
4. Seal the Bag: After the air is removed, the bag is sealed securely.
5. Air Returns to the Chamber: The chamber slowly returns to normal pressure, and voila! Your perfectly sealed bag is ready.

Finding the Perfect Vacuum Time
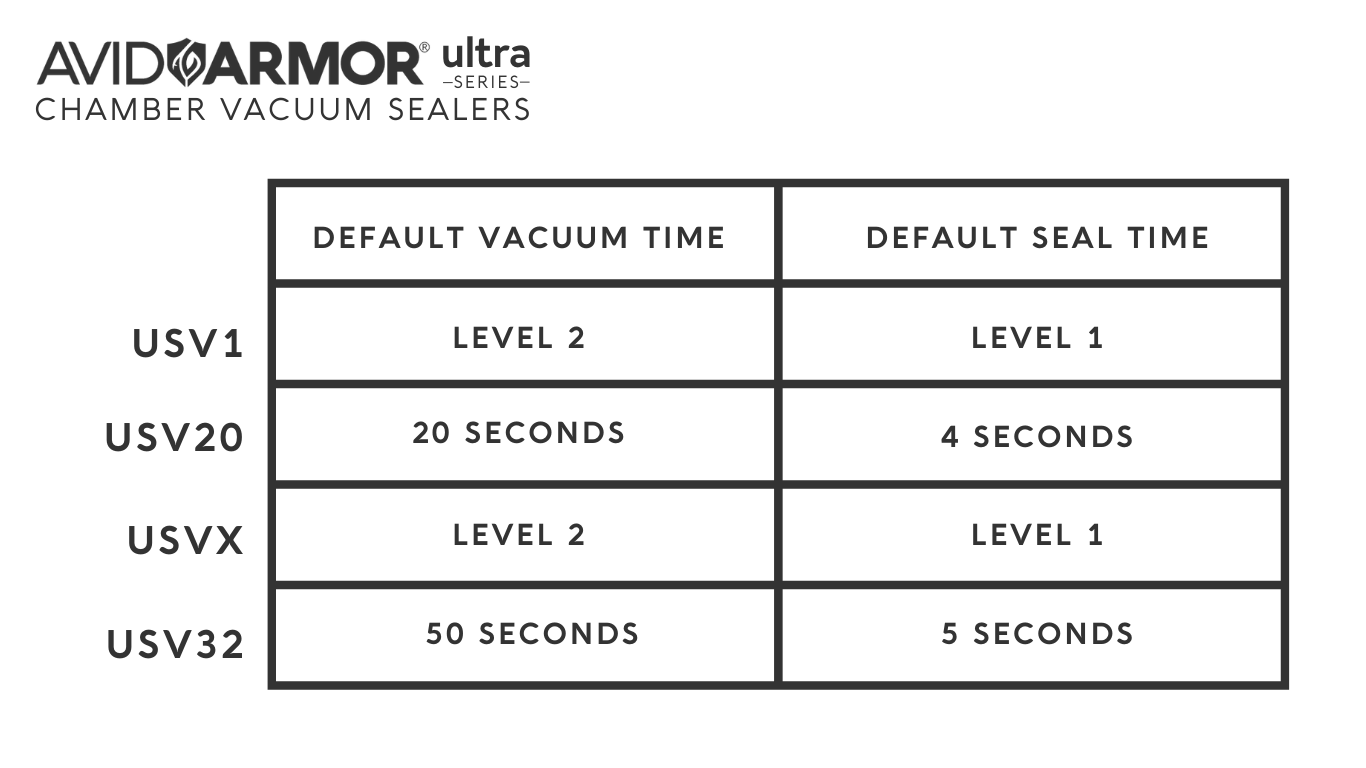
The beauty of Avid Armor’s chamber vacuum sealer is its flexibility. You can start with the default vacuum time and adjust as needed based on how much space is occupied in the chamber.
Here’s a simple way to master it:
- Default Vacuum Time: This is a great starting point. It works for most items, ensuring a strong seal.
- Decrease Vacuum Time: For larger items that occupy more chamber space, you can decrease the vacuum time.
- Increase Vacuum Time: For smaller items that take up less chamber space, increase the vacuum time to ensure all the air is removed.

Using Fillers for Small Items
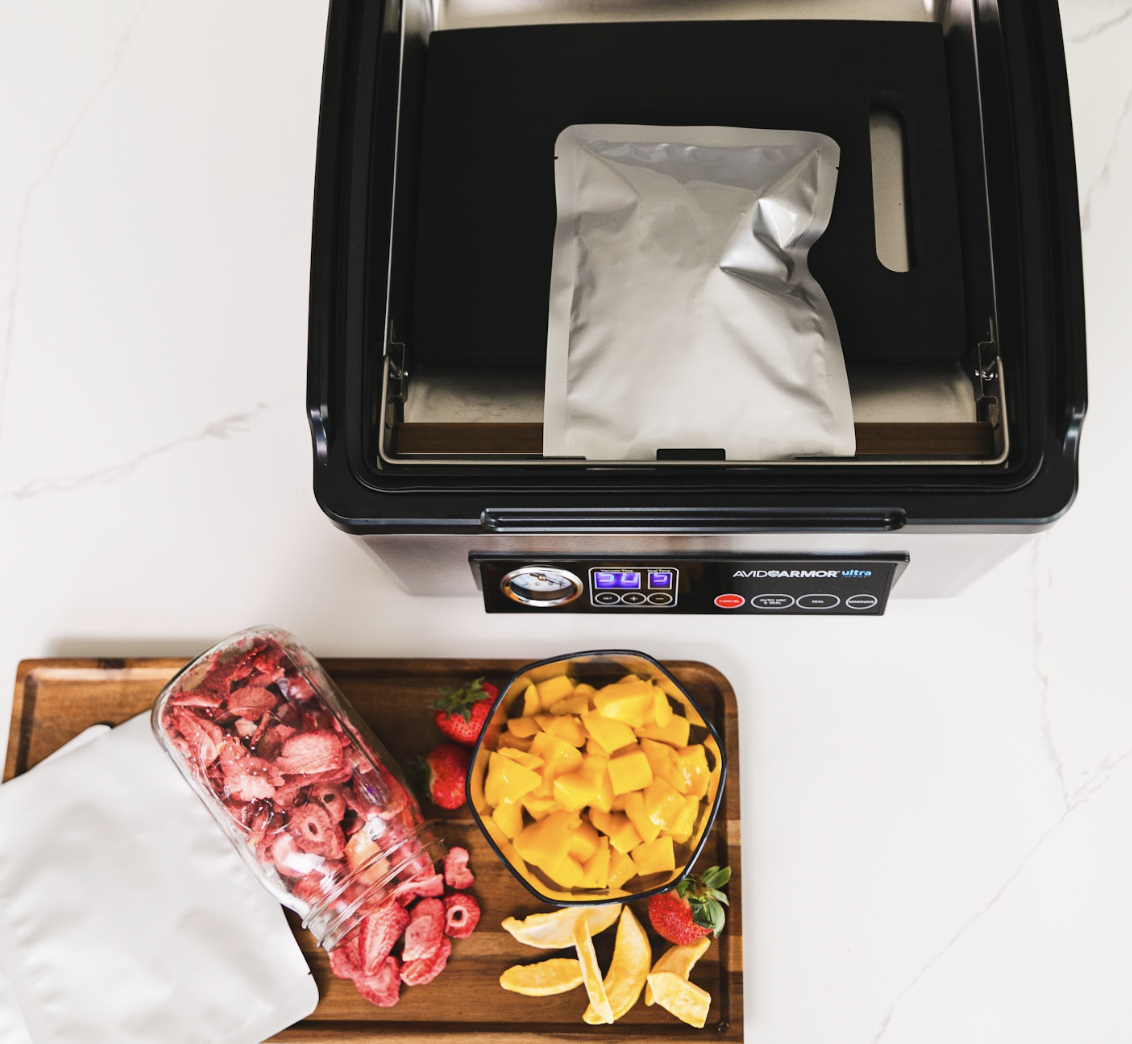
When you’re sealing smaller items, the chamber might have too much empty space, leading to inefficient sealing. But don’t worry, there’s an easy fix! Using fillers helps occupy that extra space, ensuring an optimal vacuum seal.
Here’s what you can use:
- Filler Plate: These are designed to fit in your chamber, easily occupying space and making the vacuum process more efficient.
- Small Cutting Board: A practical and readily available option.
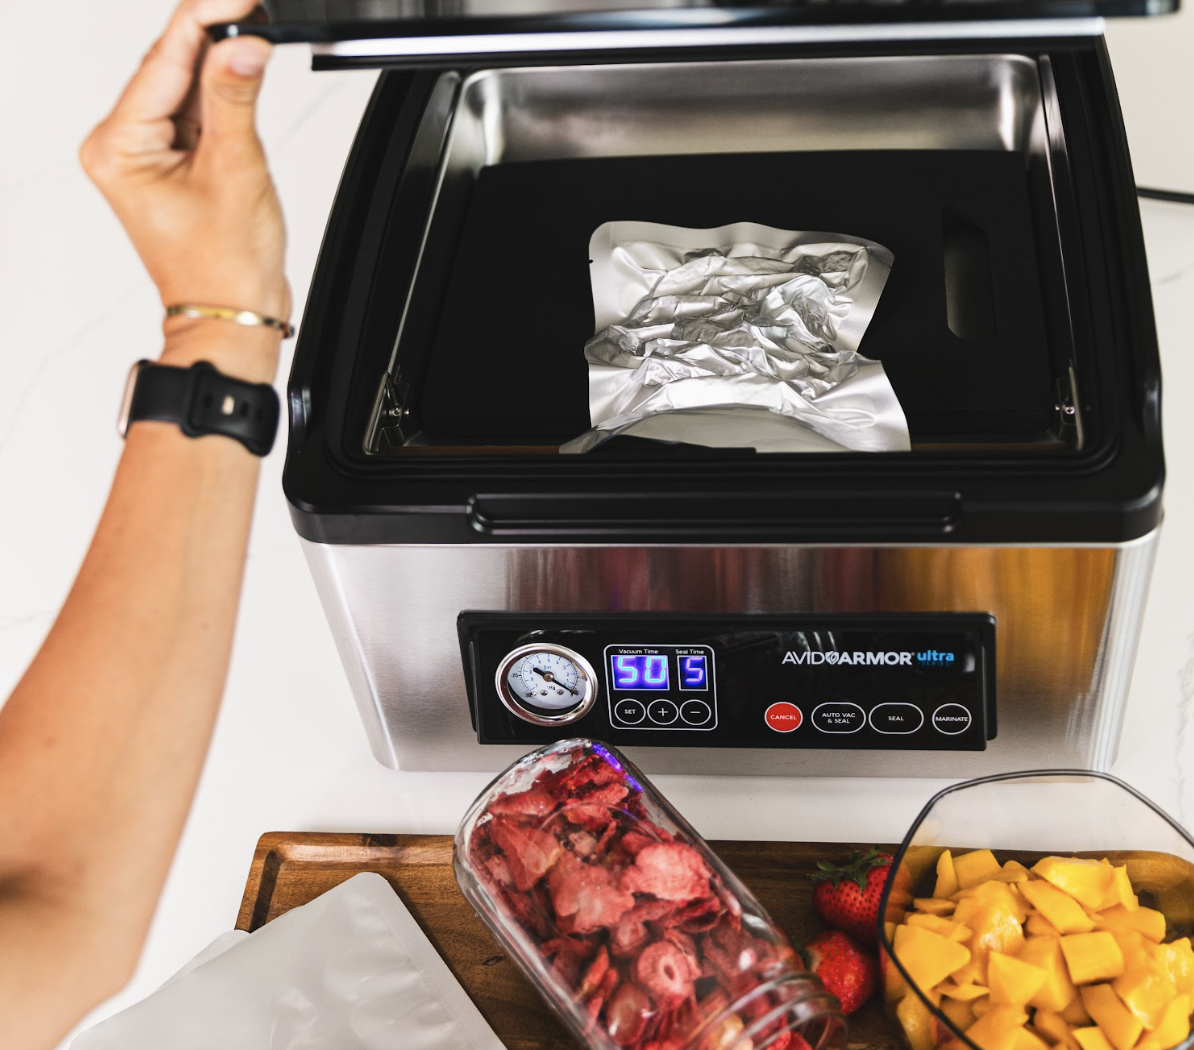
- Kitchen Towel: Fold it neatly to occupy space without adding too much bulk.
- Other Creative Solutions: Think outside the box! Anything that fits and is food-safe can work.

Step-by-Step Guide to Using Fillers
Prepare Your Item and Bag: Place the food item in the vacuum sealing bag as usual.
Choose Your Filler: Select a filler that will occupy the remaining space in the chamber.
Position the Filler: Place the filler in the chamber alongside or beneath the bagged item.
Adjust Vacuum Time if Needed: Depending on the filler size, you might need to tweak the vacuum time slightly.
Seal as Usual: Close the lid and let the chamber vacuum sealer do its thing!

Final Tips
Experiment: Don’t be afraid to try different vacuum times and fillers until you find what works best for you.
Consistency: Make note of what works for different types of foods and quantities, so you have a go-to setting for future sealing.
Maintenance: Keep your chamber vacuum sealer clean and well-maintained for the best performance.
By mastering these techniques, you’ll not only enhance your food storage capabilities but also contribute to a more sustainable lifestyle. With Avid Armor, you’re not just sealing food; you’re sealing in freshness, flavor, and the joy of efficient living.

