

BBQ Bites: Infuse Intense Flavor Into Your Pork Ribs
Jul 27th 2016
There are more ways to get great use out of your vacuum sealer than just stocking up the freezer or storing your left overs. One of the great ways is to use your vacuum sealer to speed up the marinating process and infuse intense flavors into your meats prior to smoking or grilling. Even if you only have an hour or you are a planner and have a few days prior to grilling, this method works wonders.
The process isn't any different than how you would normally apply a rub to your pork ribs, there is just one extra step prior to hitting the grill. See how easy it is with our step by step instructions.
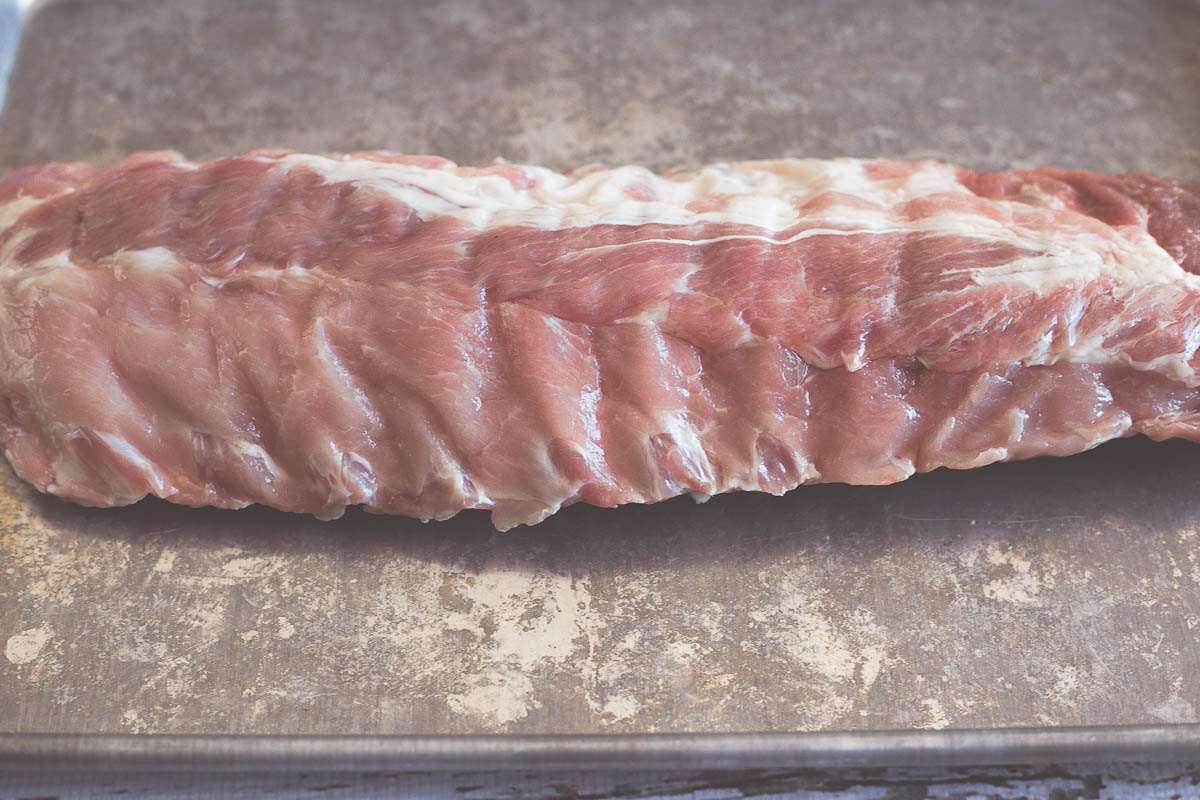
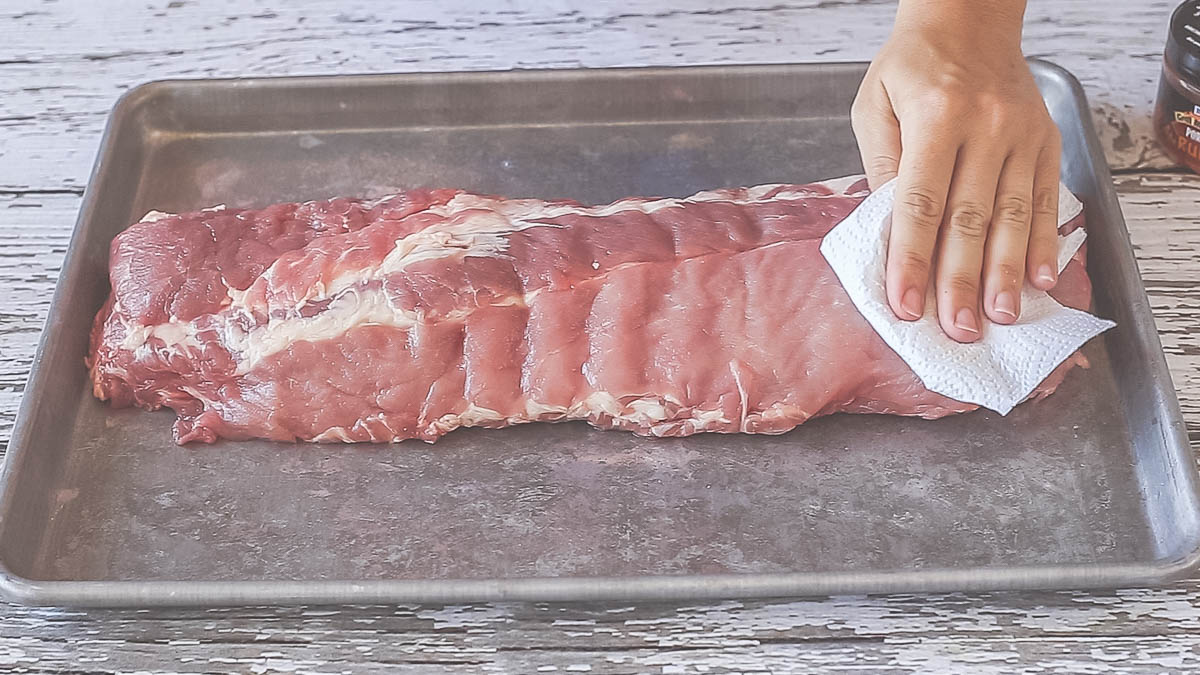
- First things first, un-package and rinse your ribs. Using a paper towel, blot both sides of the ribs to remove as much excess water and liquid as possible.
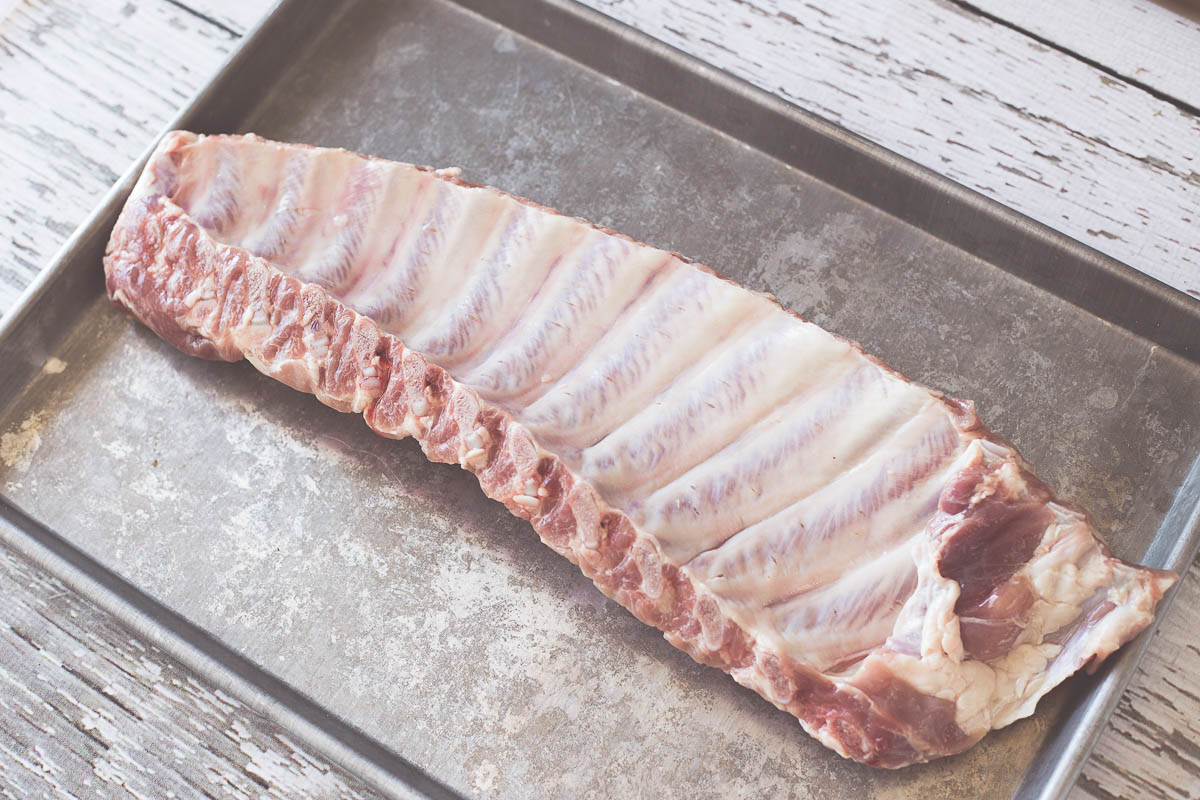 The next step is a little trickier. Removing the membrane. It is a very common practice when cooking ribs, although there are conflicting opinions whether it is a necessary step. The purpose of removing the membrane is to help the rub and seasonings penetrate the meat. If you don't remove it, it acts as a barrier. Some say leaving it on keeps the juices in better. We went ahead and removed the membrane on these ribs.
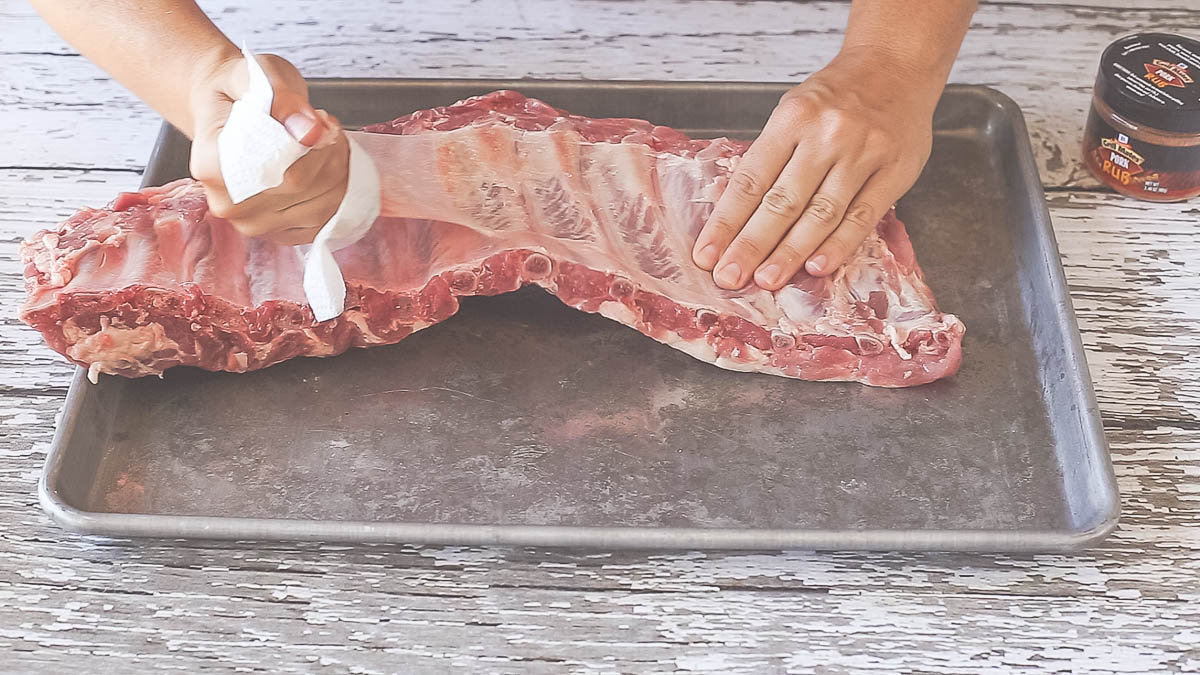
- Using a knife to get you started, remove the top layer of the membrane on the backside of the ribs. It can definitely be stubborn, but once you get it started, it should peel right off.
TIP: Use a paper towel to get a better grip on the membrane because it is slippery.
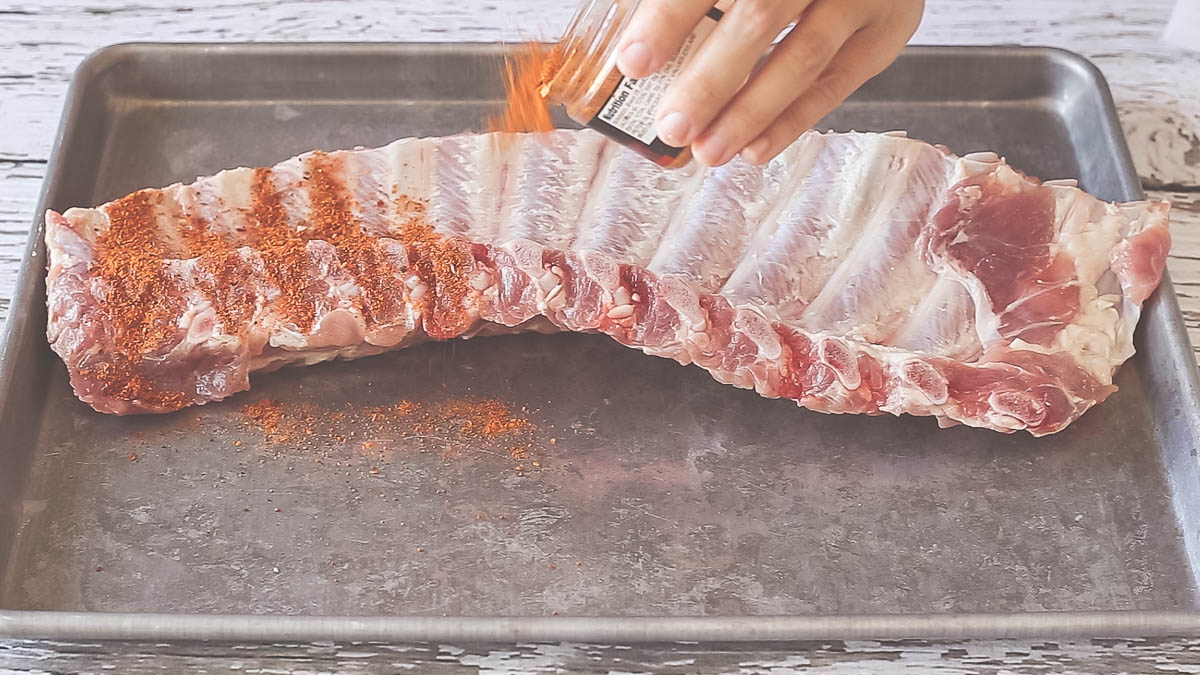
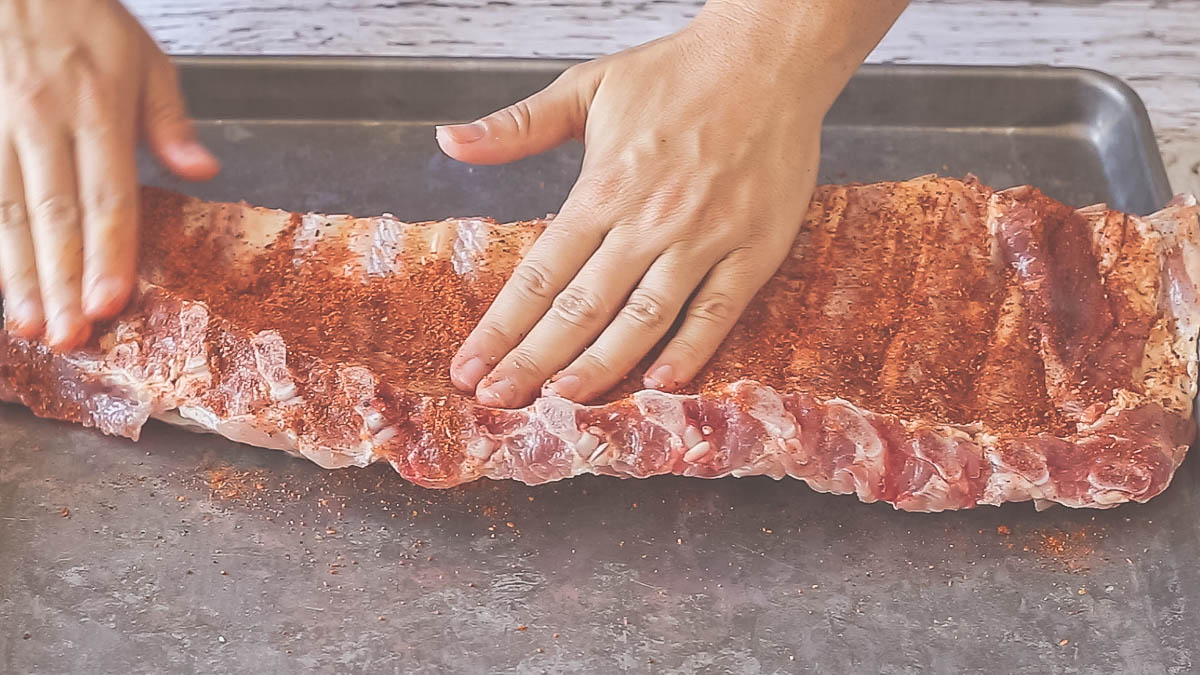
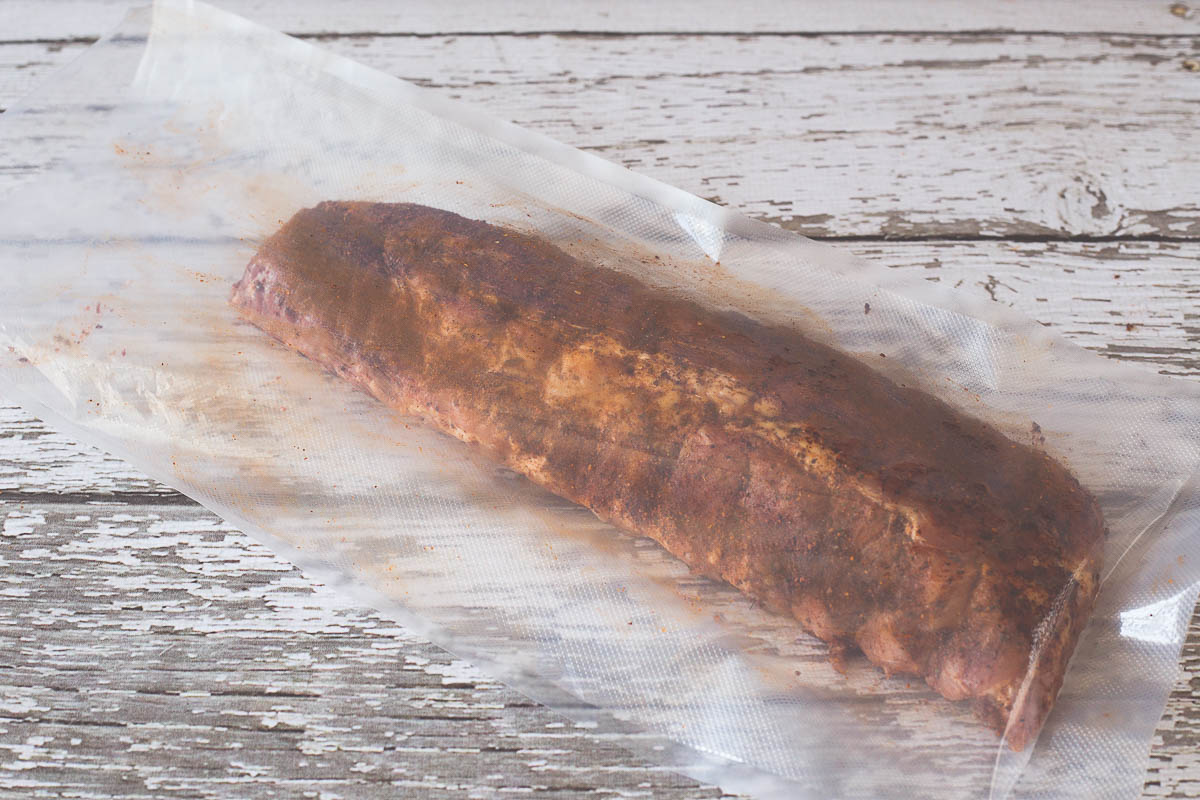
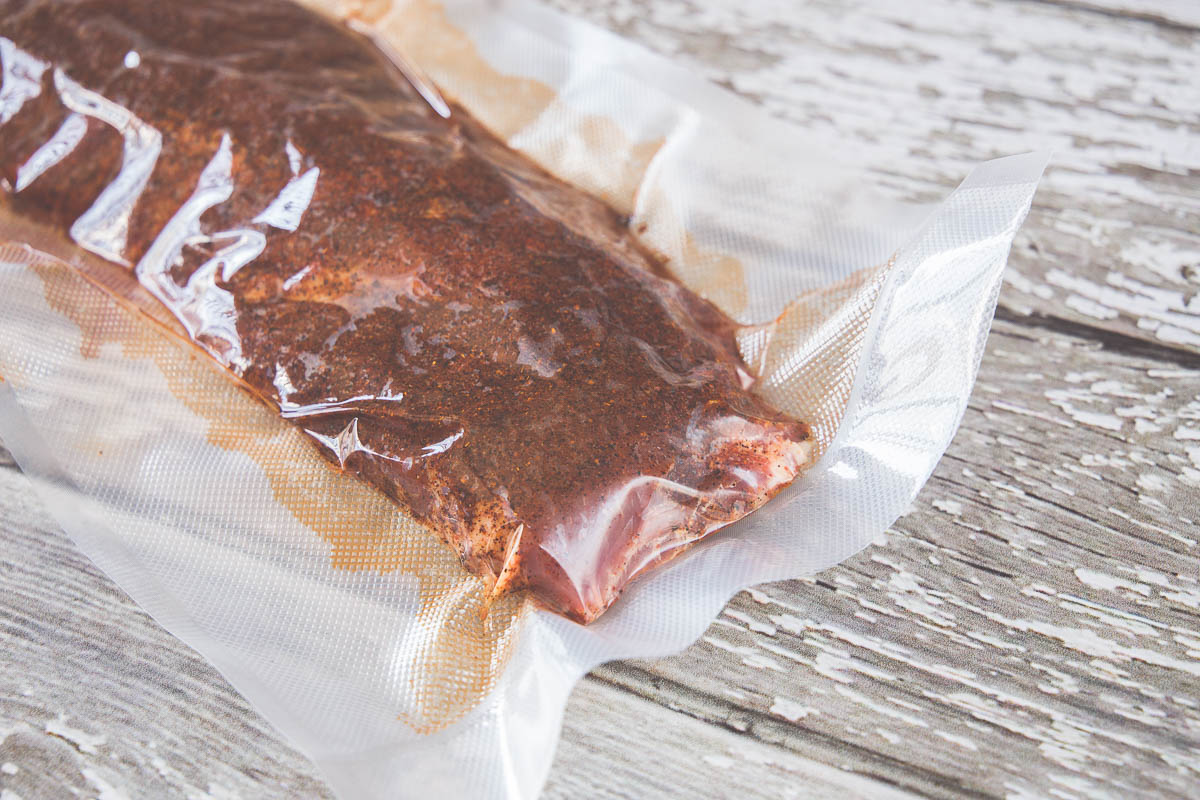
- Now it is time to add your desired rub or seasonings. Generously coat the front, back, sides, and ends with the rub. We used McCormicks Grill Masters® Pork Rub.
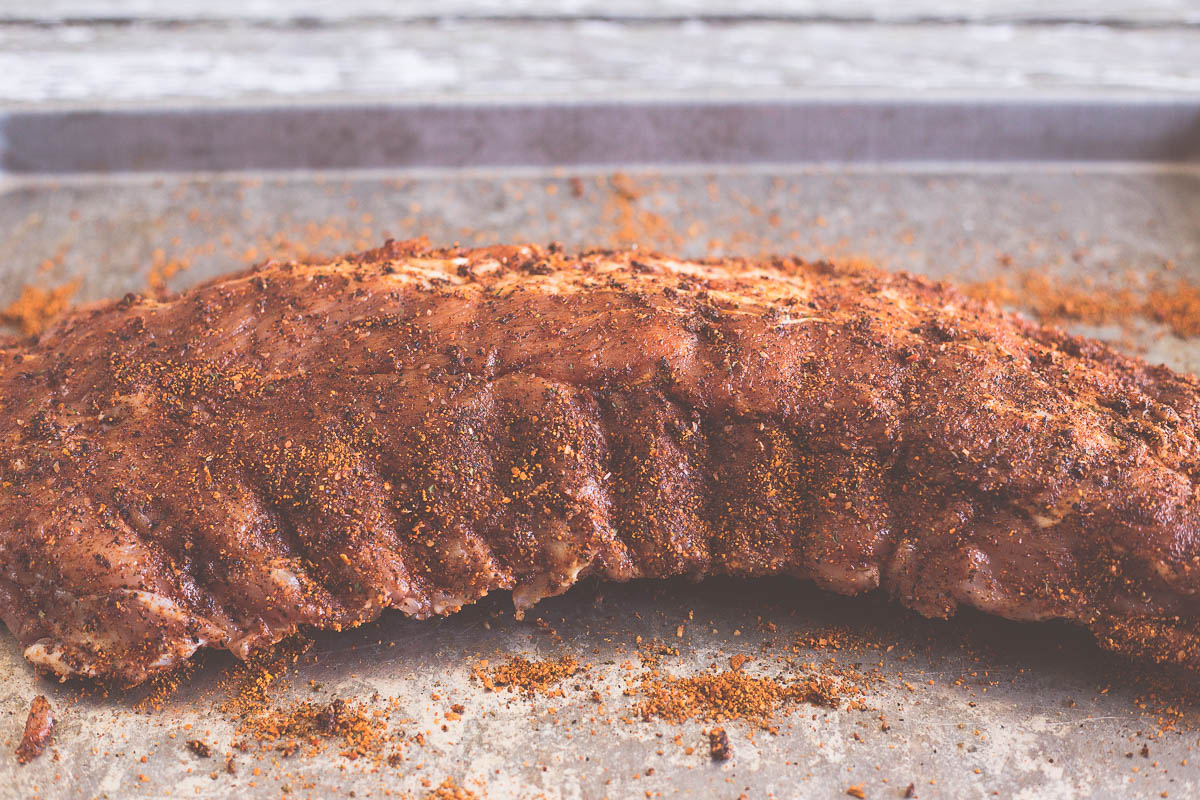
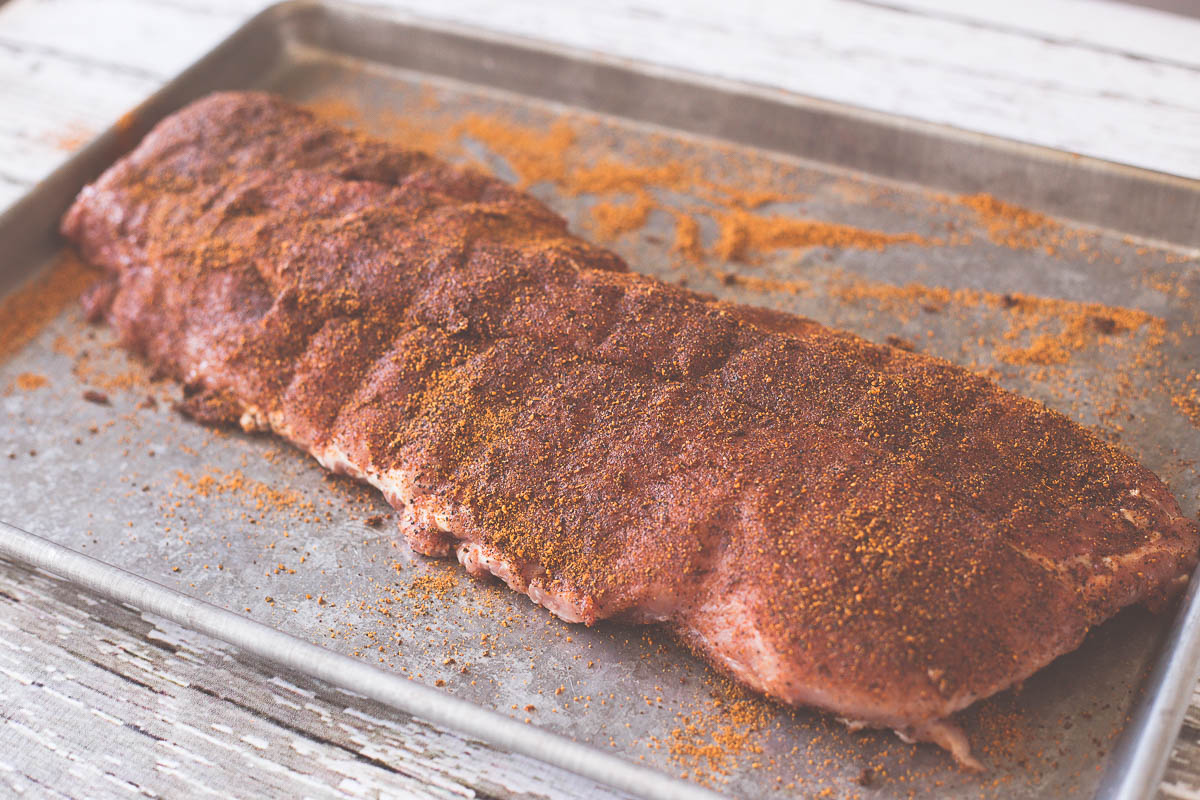
- Once your ribs are completely covered with rub, you can prepare your vacuum seal bag.
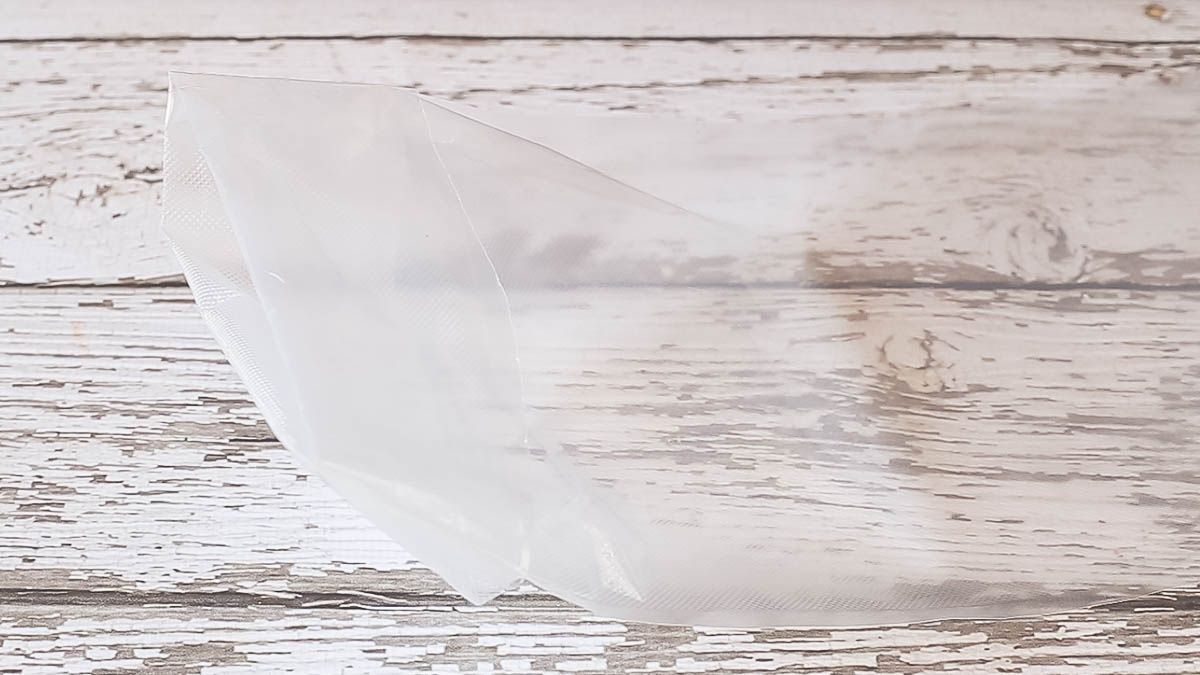
Since the ribs were so long, they wouldn't fit into a pre-cut vacuum seal bag, so we made our own custom size bag out of an 11" vacuum seal roll. Make sure you leave a few inches of head space so there is room to seal the bag. If you don't have rolls, you can cut the ribs in half between two of the bones so they are short enough for a pre-cut bag.
TIP: Fold back the top portion of the bag to keep the sealing area clean when loading the ribs into the bag.
- When your bags are ready, it is time to load the ribs into your vacuum seal bag.

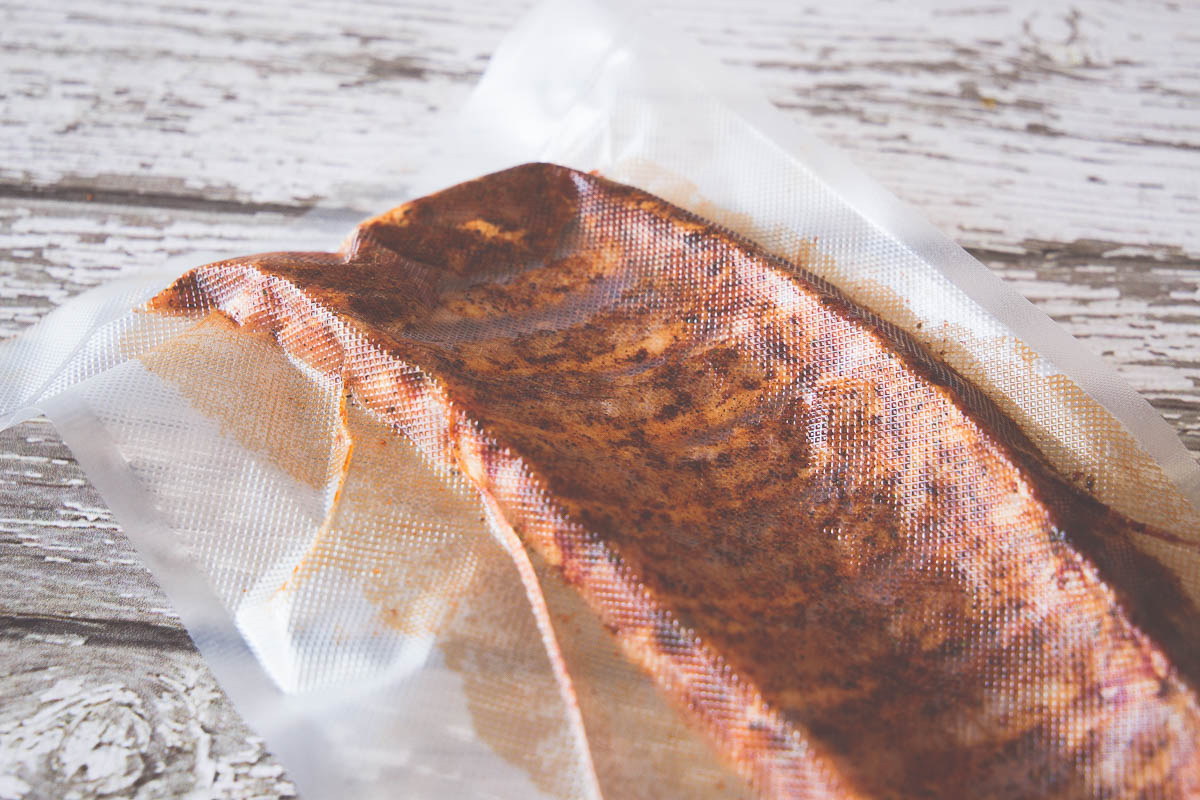
- Once your bag is loaded, use your vacuum sealer to suck out all the air and seal the bag.
TIP: We found it helpful to lay the top side of the ribs onto the table with the ends of the bones facing up. This way, it helps the vacuum sealer remove the air from the underneath, curved side of the ribs.
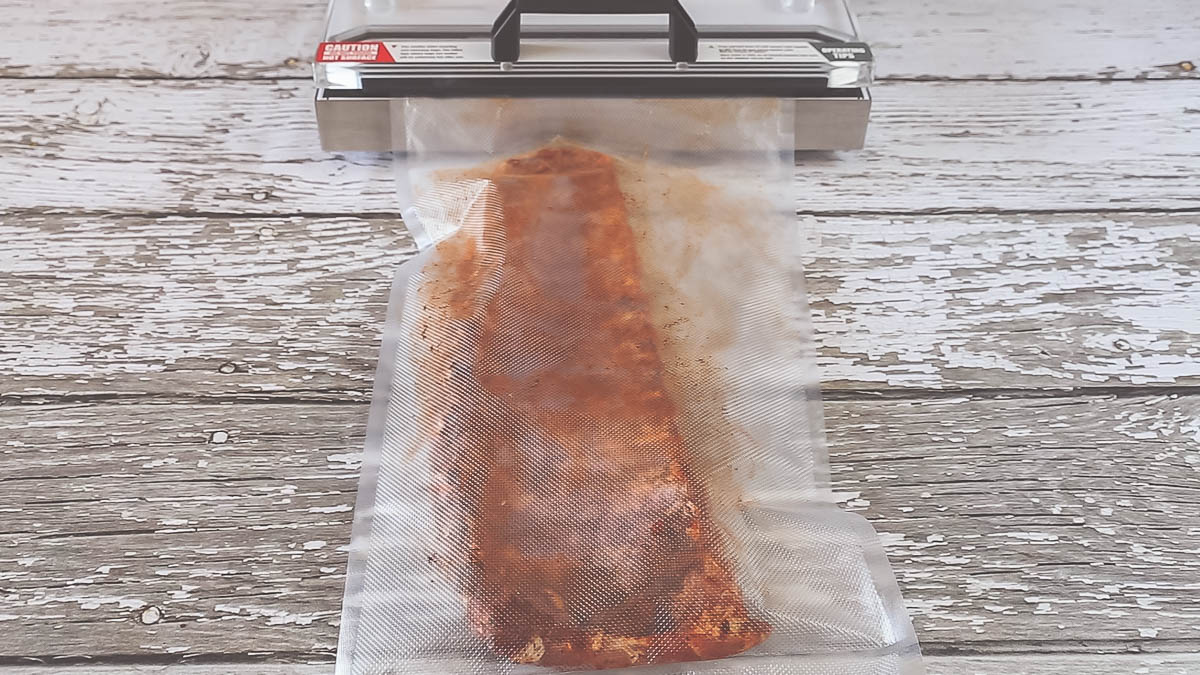
We use the Avid Armor A100 vacuum sealer. This vacuum sealer is heavy duty and has enough power to suck out all the air from this approximate 24 inch bag with no problems.
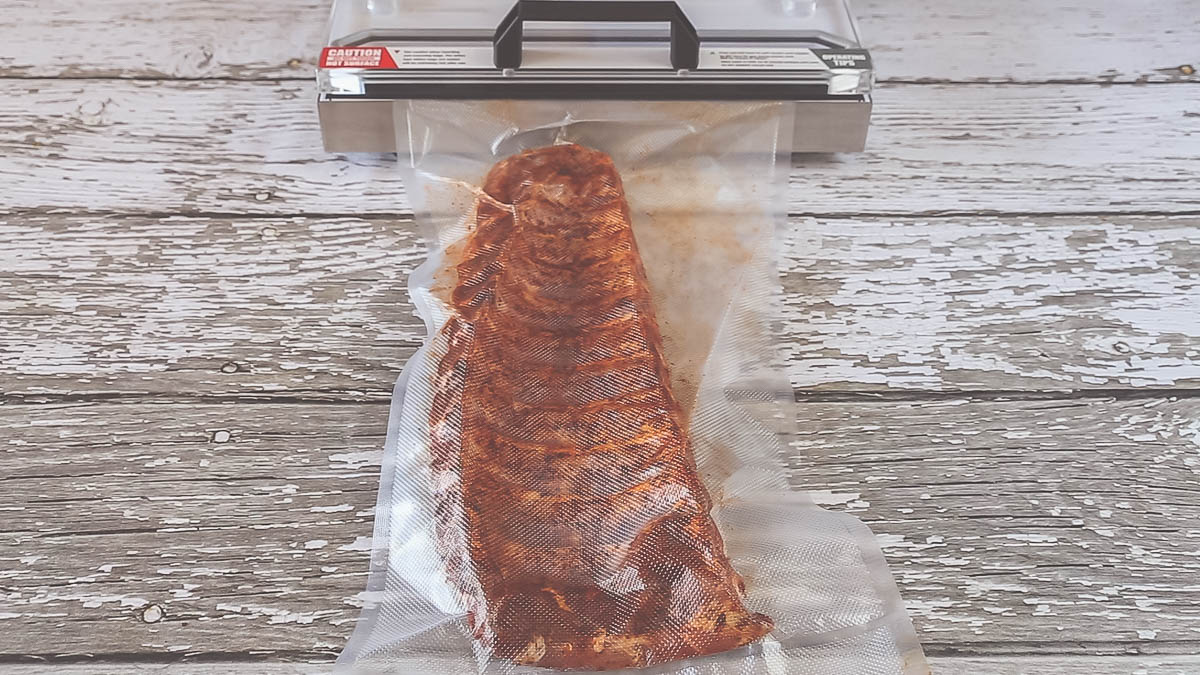
Now all you have to do is throw them in the refrigerator for an hour or two... or even several days until you are ready to grill them. In the mean time, the vacuum sealed ribs will be penetrated with fabulous flavor.
Watch the steps in action:
As with every grill master, each have their own tricks and secrets! We'd love to hear yours!
What's Next? Stay tuned for Part 2 of our Pork Ribs blog.