Having Trouble Brainstorming Gift Ideas? Try These Simple & Easy, DIY Homemade Vacuum Sealed Christmas Gifts!
Posted by Avid Armor on Dec 20th 2022
When Christmas rolls around, it’s so hard to decide what to get for everyone in your life. You may have spouses, children, parents, or friends to give gifts to, but sometimes gift giving extends to coworkers, teachers, and neighbors. So many presents to buy and so little time! So, we decided to help take some of the stress out of the holiday season and give you three DIY homemade Christmas gift ideas that not only utilize your vacuum sealer, but are easy to make, and budget-friendly.
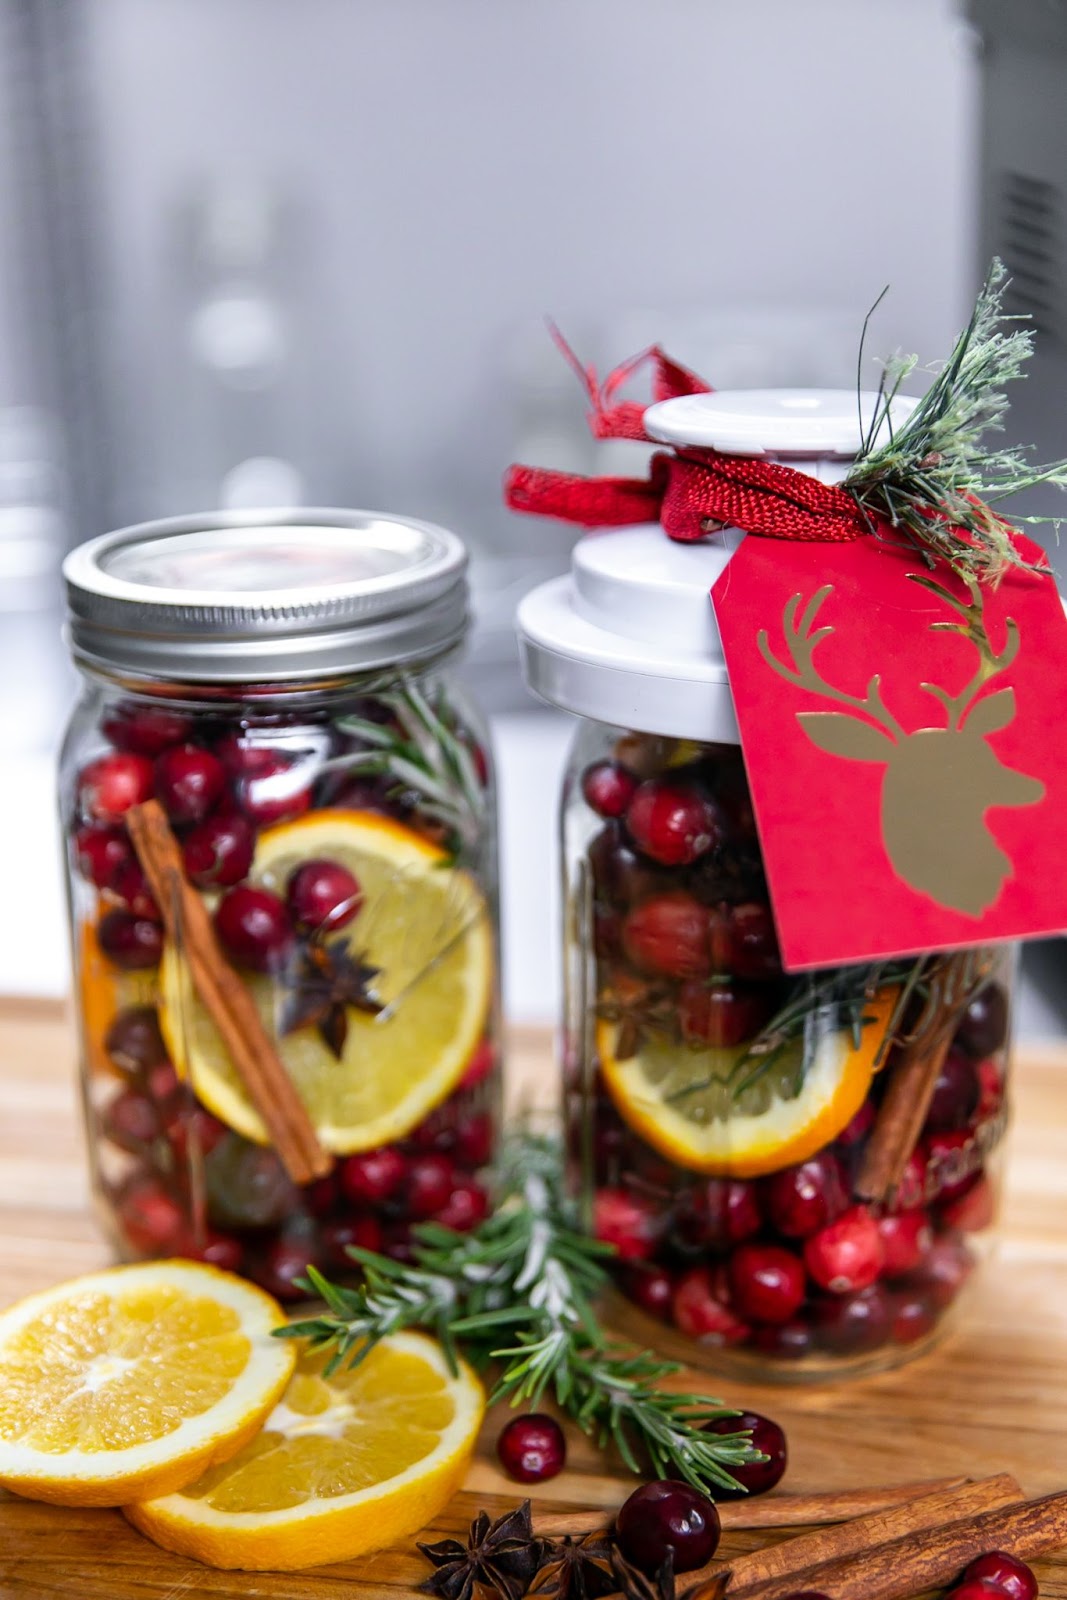
Stove-Top Simmer Pot Kits
Simmer pots are simple to assemble and make an absolutely beautiful Christmas gift. What is a better way to get into the holiday spirit than having your home smell like the holidays too?
Supplies:
Yields: 4 Quart Wide-Mouth Mason Jars
2 - 12oz. bags of fresh cranberries
4 navel oranges, sliced into rounds
8 sprigs of fresh rosemary
12 whole cinnamon sticks
16 whole star anise cloves
4 quart wide-mouth mason jars
Magic Vac wide-mouth vacuum hood
Accessory hose
Vacuum sealer with accessory port
Directions:
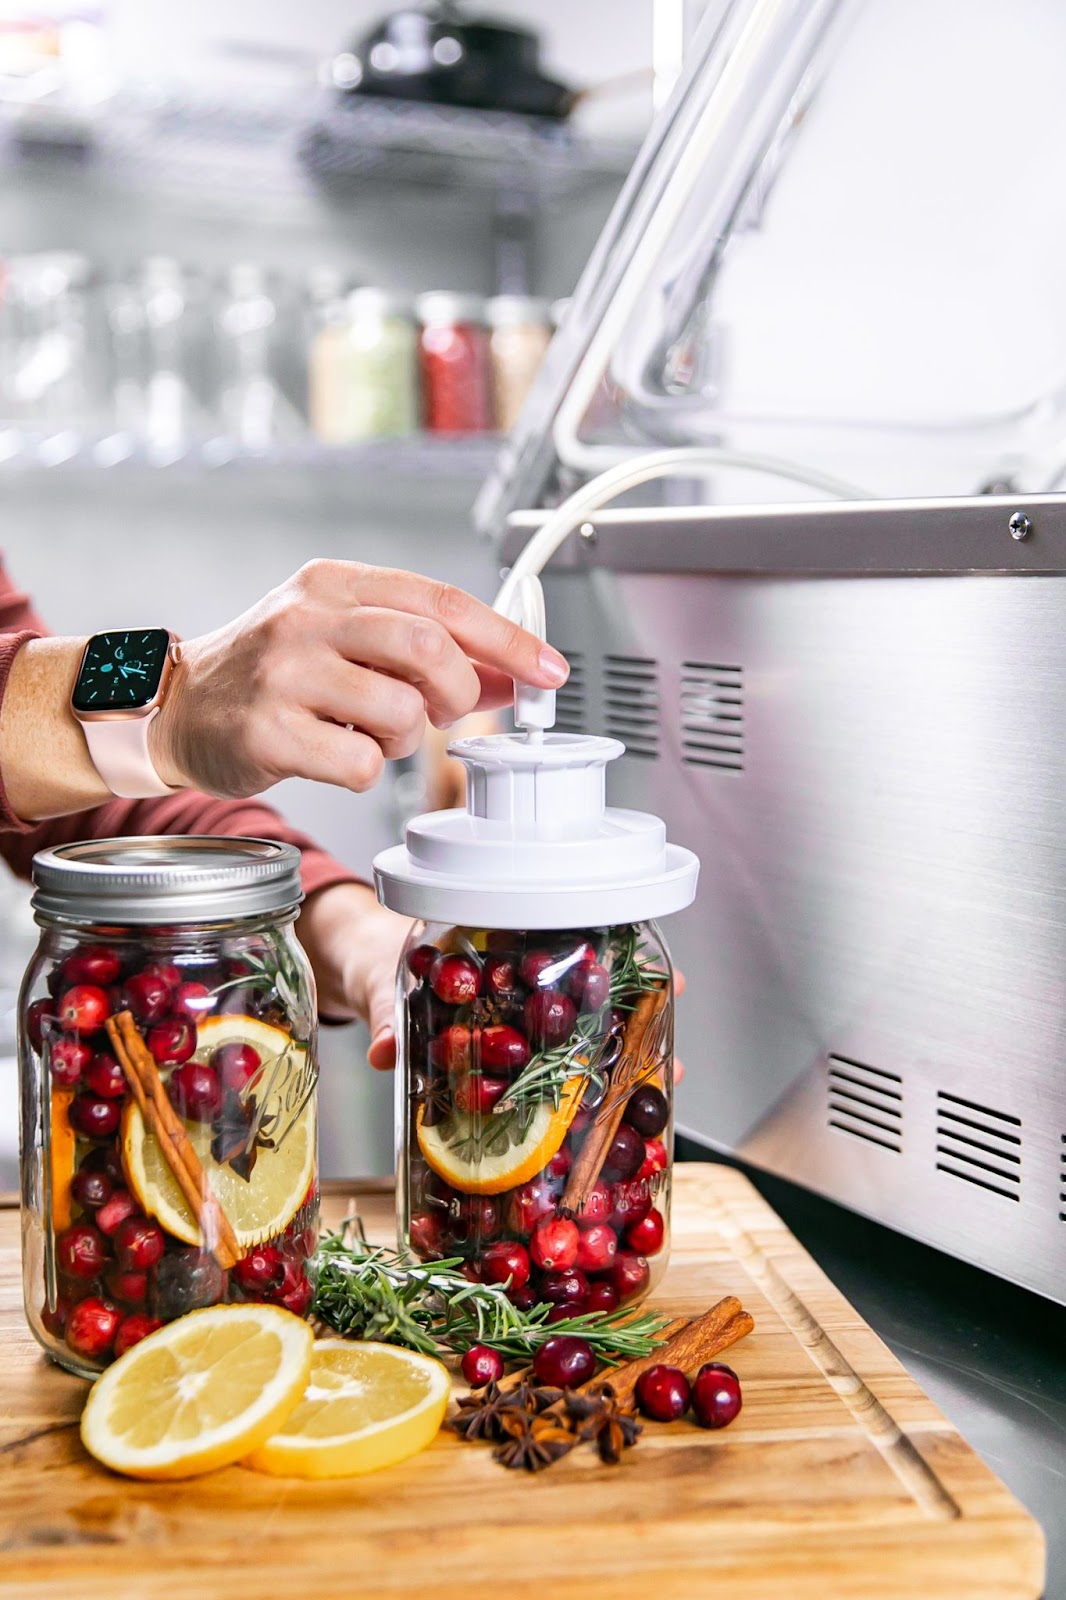
1. In the quart jars, divide the ingredients evenly between them, so each jar has 6 oz. of cranberries, one sliced orange, 2 sprigs of rosemary, 3 cinnamon sticks, and 4 star anise cloves.
2. Once the jars are filled up with all the items, place the flat lid on the mason jars.
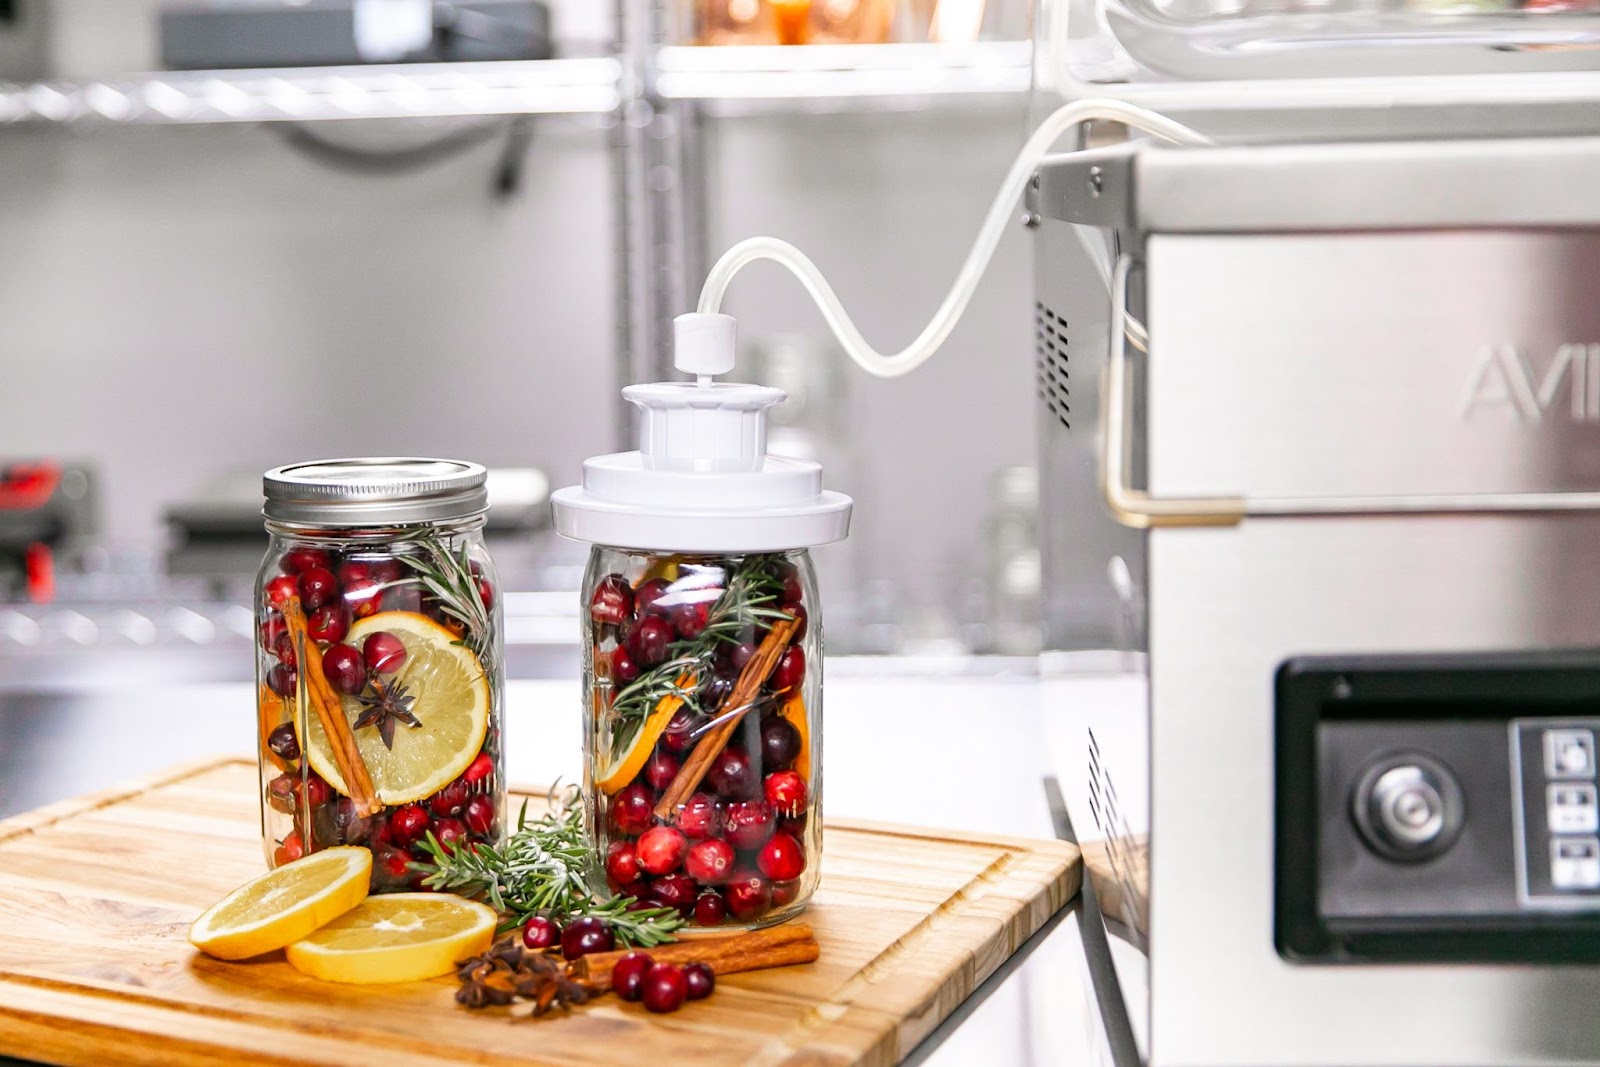
3. Use the wide-mouth mason jar vacuum hood and a vacuum sealer with an accessory port, vacuum seal each mason jar. We used the GS41 chamber vacuum sealer.
4. After the jars are vacuum sealed, screw the metal rings back on to the mason jars.
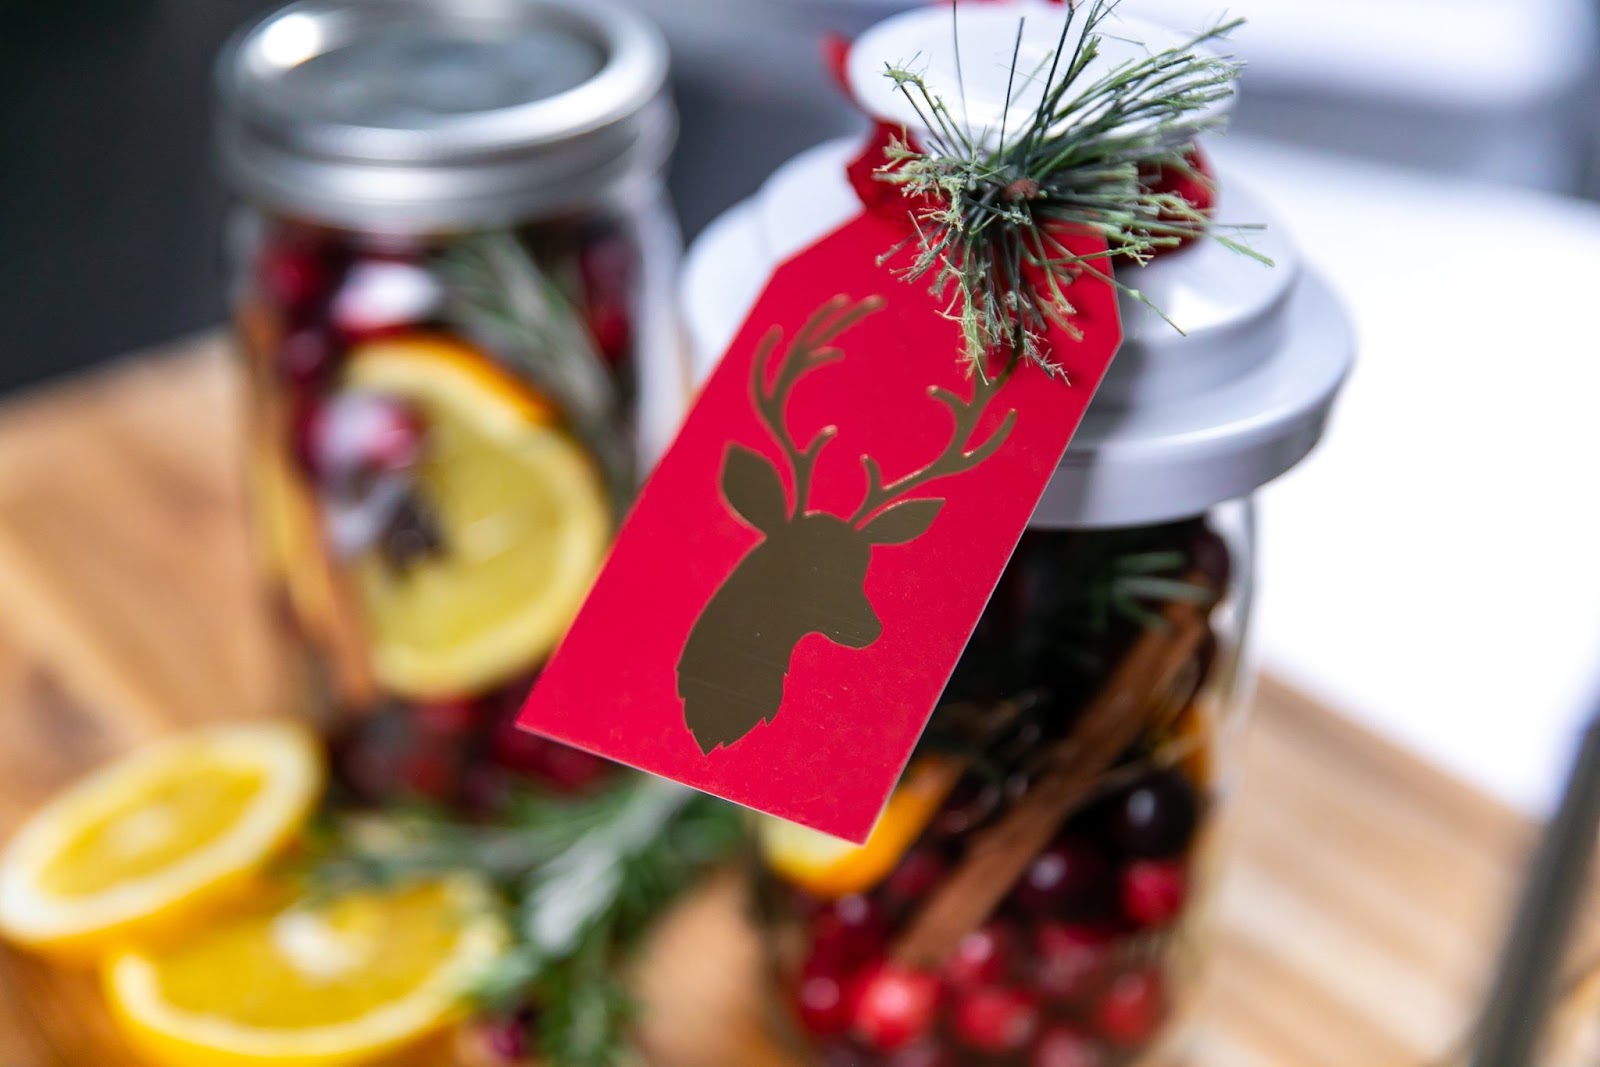
5. Adorn the mason jars with a ribbon and instructions for how to use the simmer pot kit.
How to Use the Simmer Pot Kit :
1 - Fill a medium saucepan ¾ full with water.
2 - Simmer on low.
3 - Add the ingredients from the mason jar and continue to simmer on low.
4 - Enjoy the wonderful holiday scent that fills your home!
Note: If the recipient has a vacuum sealer, you can even give them a wide-mouth mason jar vacuum sealing hood as part of their gift!
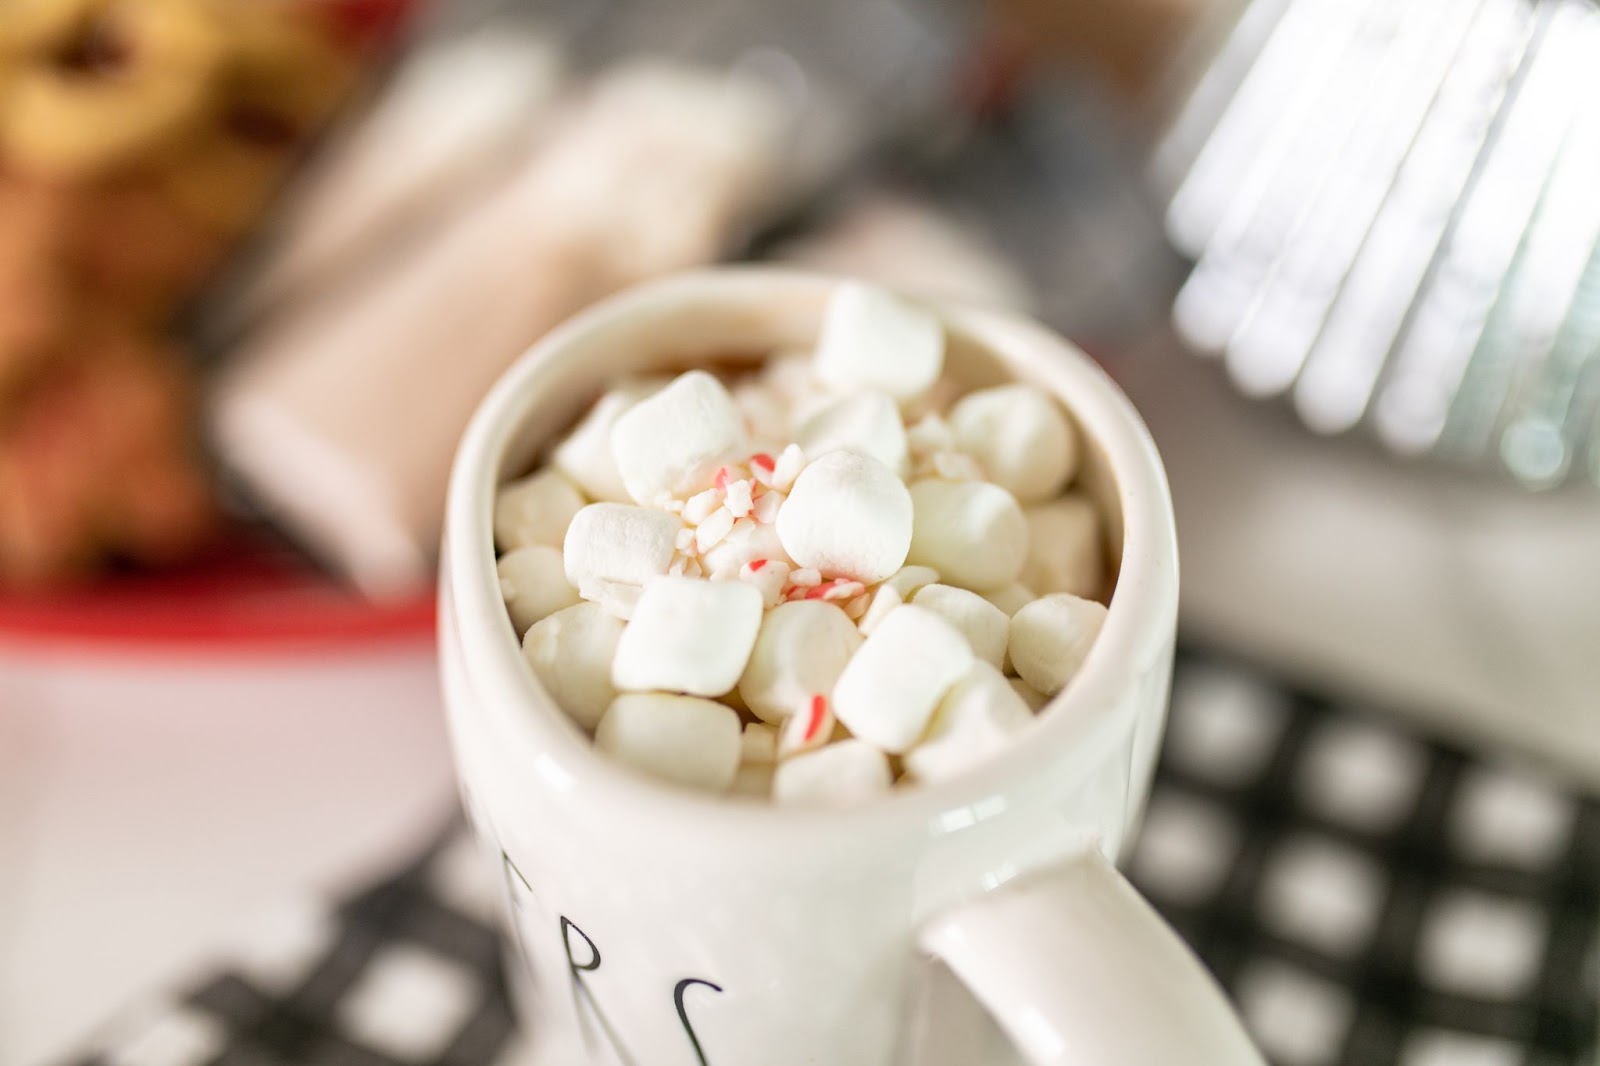
Hot Chocolate Packs
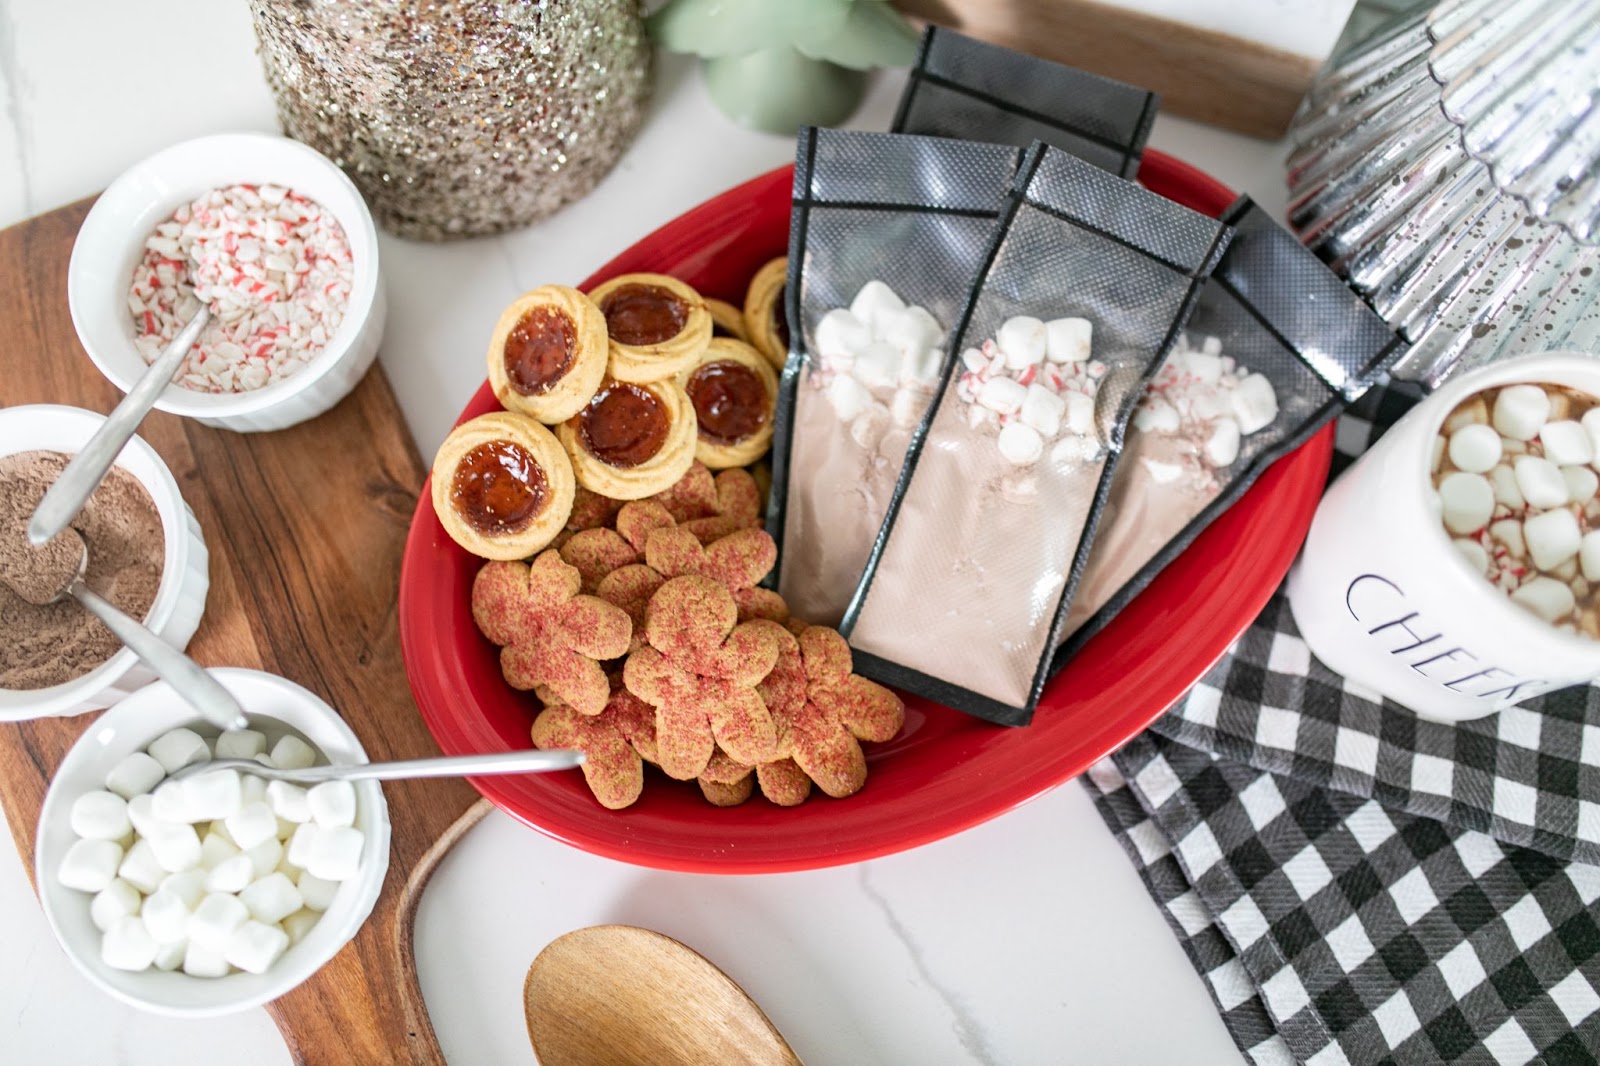
Hot chocolate is a staple during wintertime. By using Avid Armor vacuum sealer rolls, you can make custom bag sizes, which are perfect for homemade hot chocolate packs! We were inspired by @smokesignalsupbbq on Instagram who made them last year for his family as part of their gifts.
Supplies:
Yields: 8 - 10 hot chocolate packs
1 c. unsweetened cocoa powder
2 c. powdered milk or instant nonfat dry milk
2 c. confectioners sugar
1 bag mini marshmallows
1 bag crushed peppermint candies
Scissors or bag cutter
Avid Armor vacuum sealer rolls
Avid Armor vacuum sealer
Directions:
1. Put unsweetened cocoa powder, powdered milk or instant nonfat dry milk, and confectioners sugar in a bowl.
2. Whisk the ingredients well to combine and get rid of any lumps.
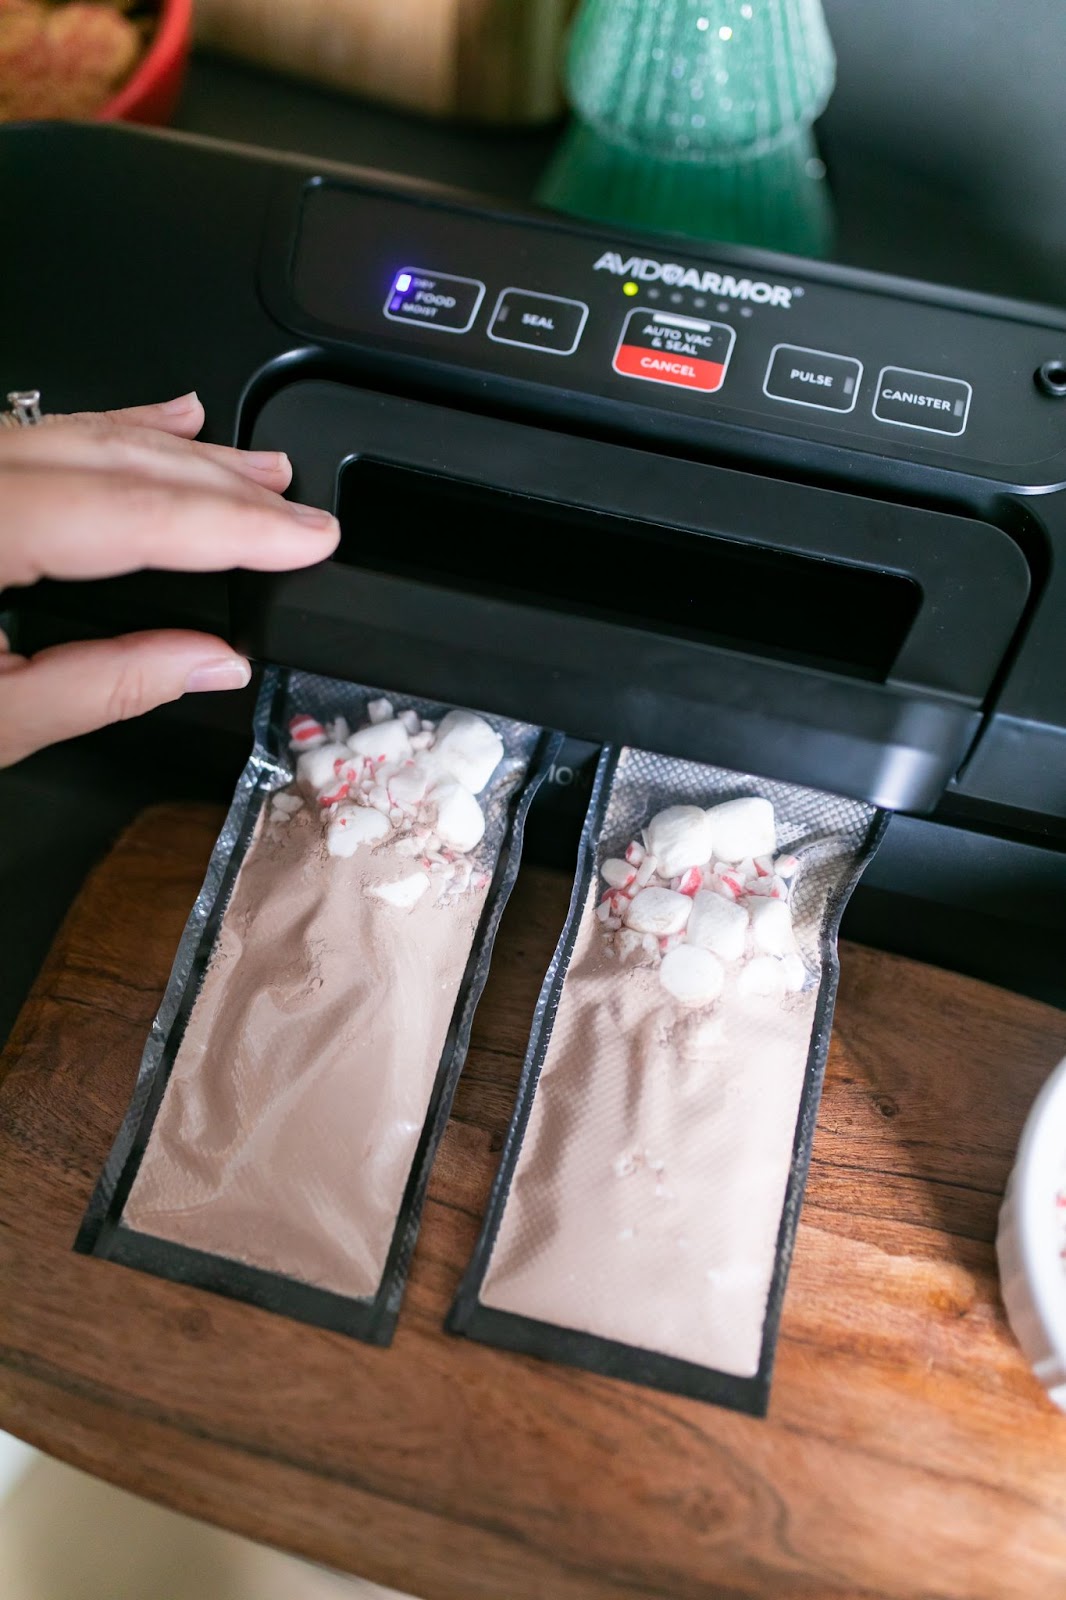
3. Take a vacuum sealer roll, we used the Premium Black and Clear Rolls, and cut the roll long-ways down the center (splitting the roll into two) until you reach the length you want the hot chocolate pack to be.
4. Seal along the vertical cut of the individual bags with your vacuum sealer - we used the Avid Armor AVS7900 vacuum sealer for this.
5. Seal the bottom of the individual bags, so just one remaining edge is open, so the ingredients can be put in.
6. Spoon approximately 2 tablespoons of the chocolate powdered mixture into the packs (make sure to fill no more than half way with powder).
7. Put two spoonfuls of mini marshmallows and a heaping spoonful of crushed peppermint candies into each pack.
8. Once all the packs have been filled with cocoa and toppings, vacuum seal them.
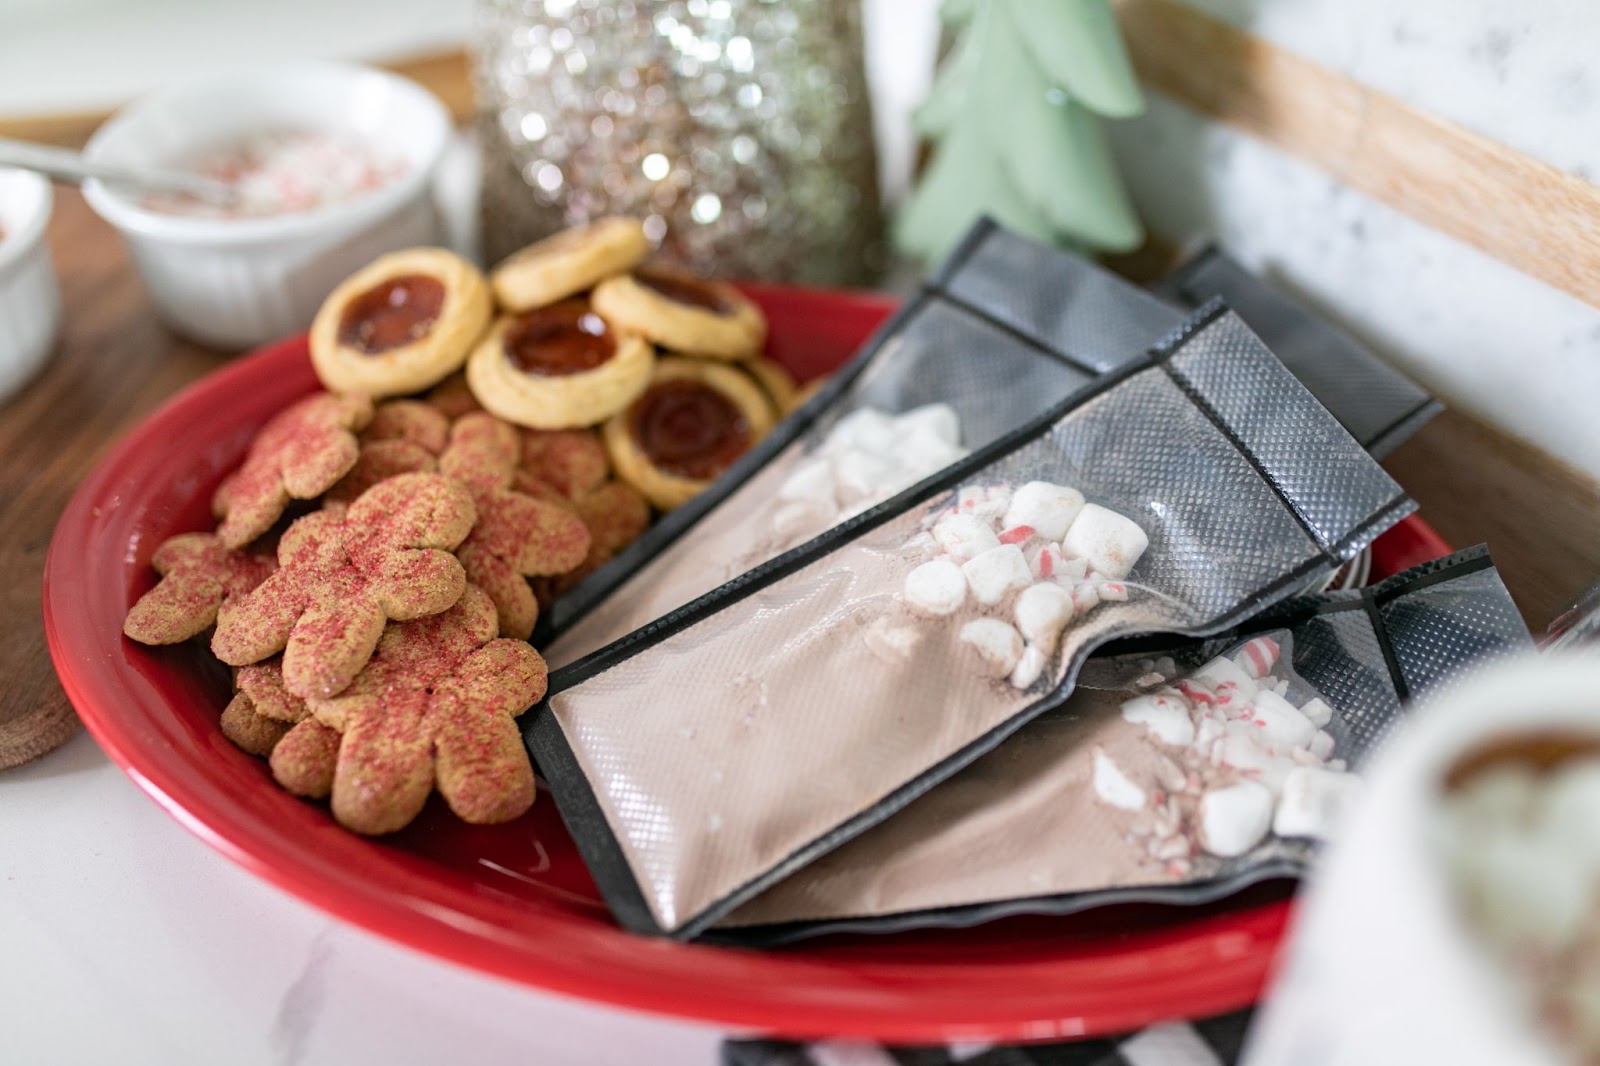
When it comes time to serve, these hot chocolate packs are best served with ¾ cup of hot water or milk.
Homemade Mixed Berry Jam
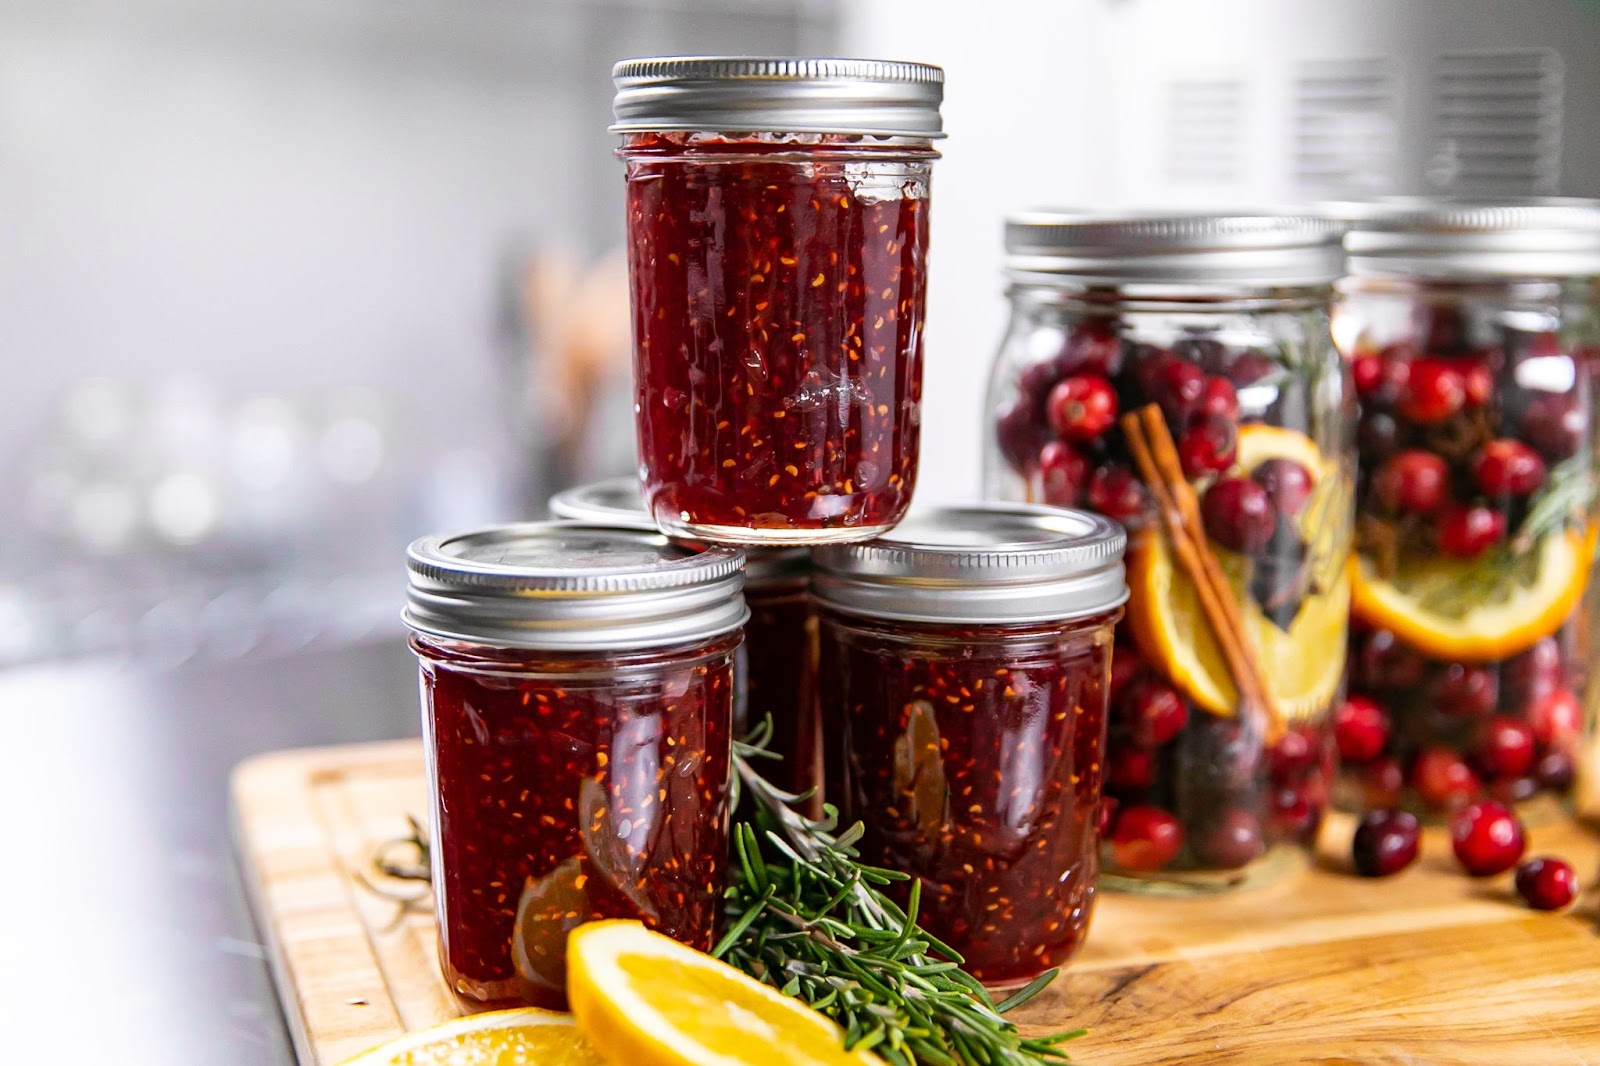
When it comes to the holidays, there are so many opportunities to be gathered with family and friends enjoying appetizers at an annual Christmas party or on Christmas day enjoying a big breakfast.
Jam makes a simple, yet useful gift for any household. Not only can it be enjoyed on a daily basis on toast or homemade biscuits, but it can also be brought out as a party app. Our favorite way to enjoy it is on top of smoked and seasoned cream cheese with crackers to dip.
We were inspired by Kimberlee Ho and her Small Batch Mixed Berry Jam recipe for this gift idea. Kimberlee’s recipe yields 8 ounces of jam, but we recommend increasing the measurements and cooking times, so there is enough jam to go around for multiple gifting opportunities! Below shows Kimberlee’s original recipe measurements.
Supplies:
Yields - 8 oz. of jam
16 oz. strawberries, hulled and quartered
6 oz. raspberries
6 oz. blueberries
½ c. granulated sugar
1 Tbsp. fresh lemon, lime, or orange juice
Dutch oven
Plate
Spatula or wooden spoon
Half pint size mason jars
Chamber vacuum sealer (needs to holds half pint jar standing up)
Directions:
1. In a heavy-bottom pot, toss berries and sugar together. Let sit for 15 minutes, periodically tossing the berries, to continue to coat and dissolve the sugar.
2. Place a small plate in the fridge to chill (this plate will be used later in the jam making process).
3. Bring the fruit to a strong simmer over medium heat until the berries start to burst and the juices start to boil, about 15 minutes.
4. Increase the heat to medium-high and cook the jam, stirring occasionally with a spatula, then stir more frequently as the juices thicken.
5. Cook until most of the liquid is evaporated and the fruit starts to break down, 40 - 50 minutes. When a rolling boil is achieved, make sure to stir constantly to avoid scorching.
6. Once the jam reaches a slow, thick boil, add the citrus juice of your choice and continue to cook, stirring constantly until the jam returns to its previous consistency (before the added juice), about another 5 minutes.
7. To test the consistency, spoon some jam onto the chilled plate, return it to the fridge and chill for a few minutes.
8. After chilling, drag your finger through the jam. If it holds its shape and is not super runny, it is done, if not, cook for a few more minutes.
9. Once the jam has reached the right consistency, remove from the heat and place into a half pint mason jar. Place the mason jar into the fridge to cool completely.
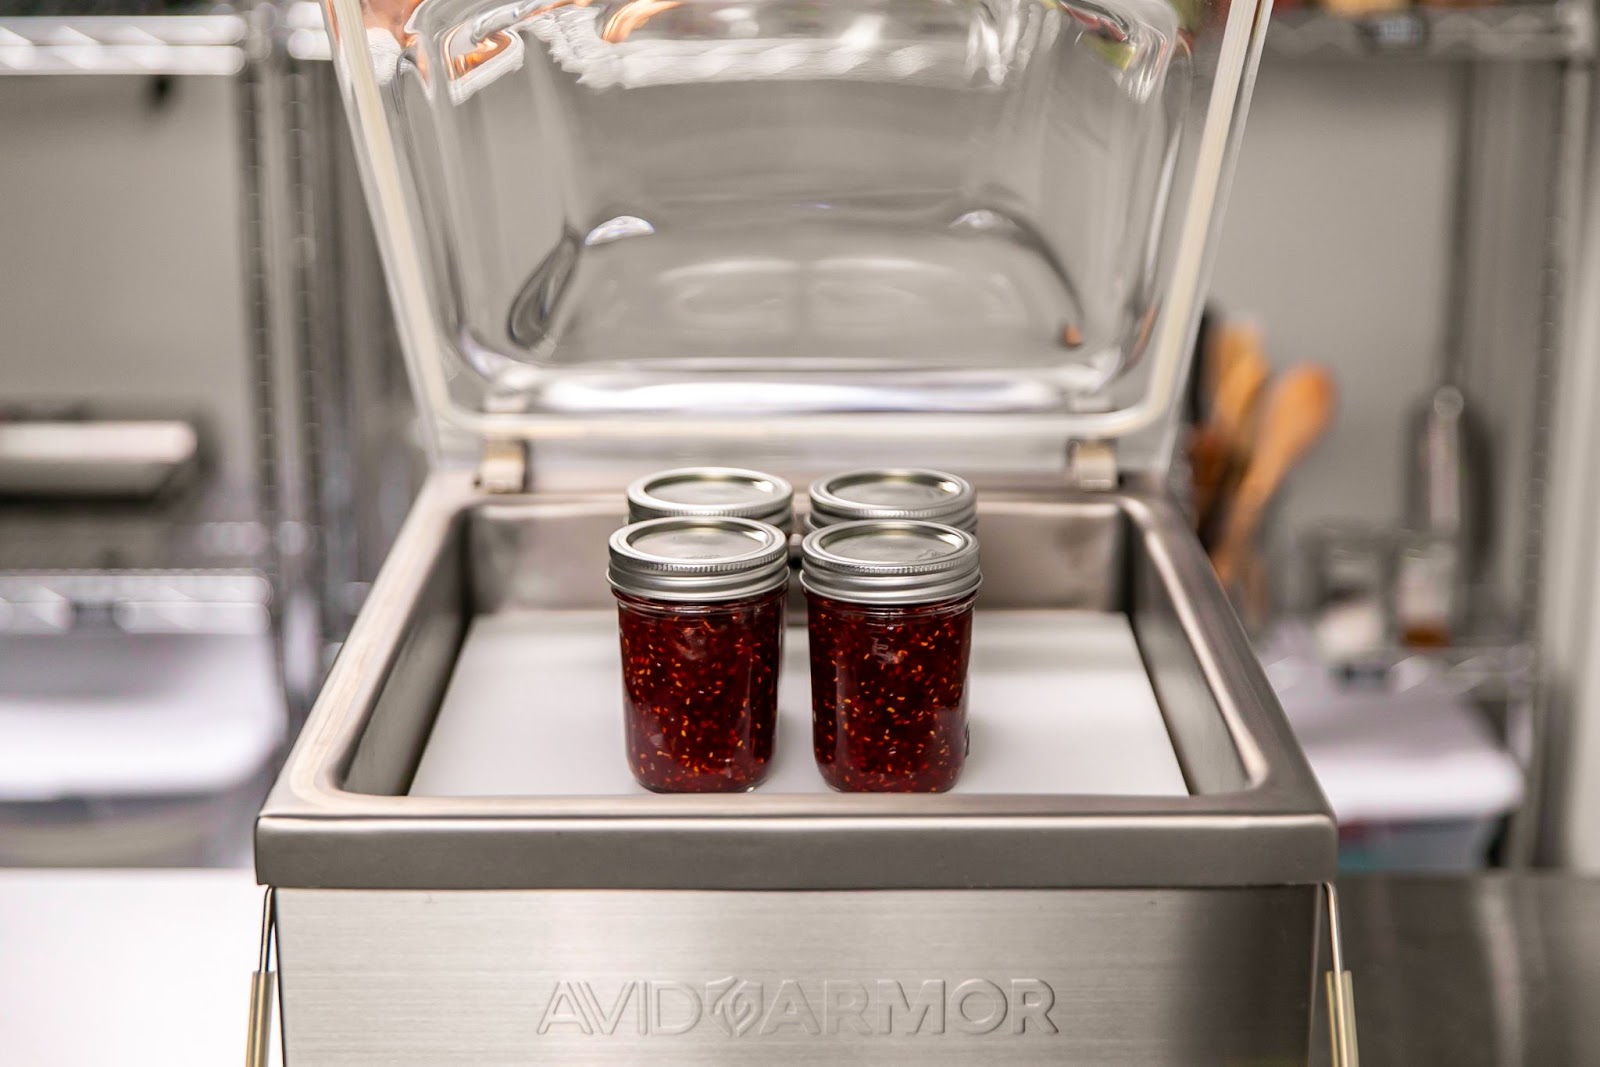
10. When the mason jar has cooled, place it into your chamber vacuum sealer with the flat lid on and the ring ‘fingertip’ tight. For this, we used the Avid Armor GS41.