

Its All About the Seal: Ensuring a Proper Seal to Reduce Bag Failure
Apr 21st 2017
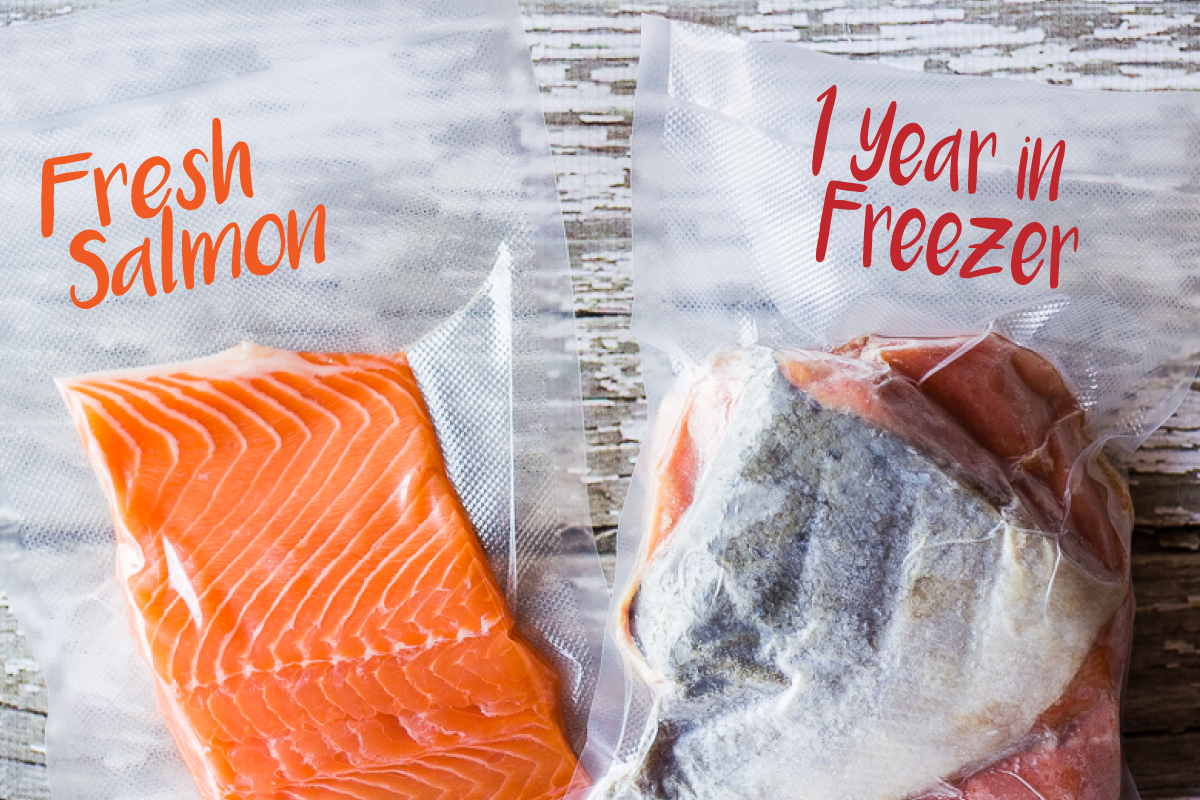
We all know that the advantage of vacuum sealing your food is to prevent air from getting to your food which causes freezer burn and dehydration, which quite literally will ruin the flavor of your fresh food. The beauty is that you can vacuum seal fresh meat or fish, throw it in the freezer and pull it out a year or two later and it will taste as fresh as the day you sealed it.
 But, the quality of your seal can be the difference between vacuum sealed and freezer burned. It is important to inspect the quality of the seal on your bag each and every time you seal a bag.
When you seal a bag, there are is always the possibility of not getting a good seal all the way across. There could be moisture, a wrinkle, or even air bubbles in the seal that could cause a very slow leak in your bag, and over time, will lead to the loss of vacuum and eventually freezer burn.
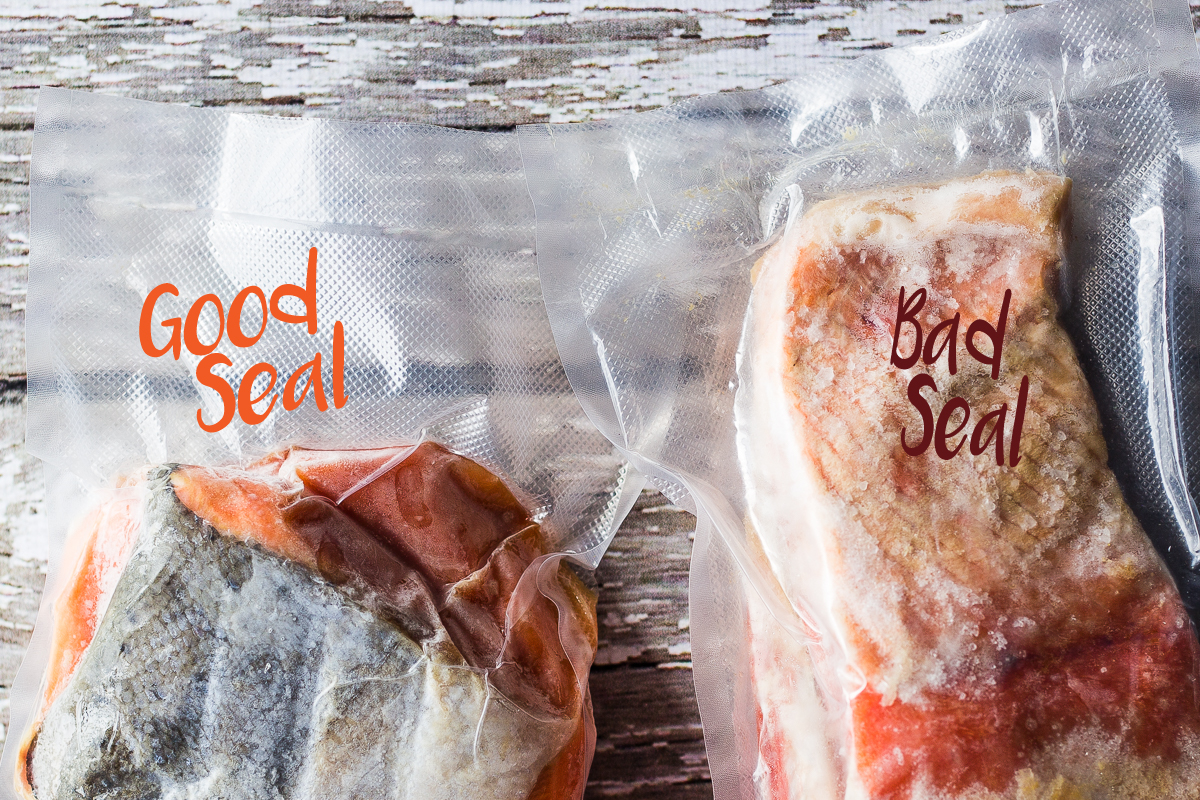
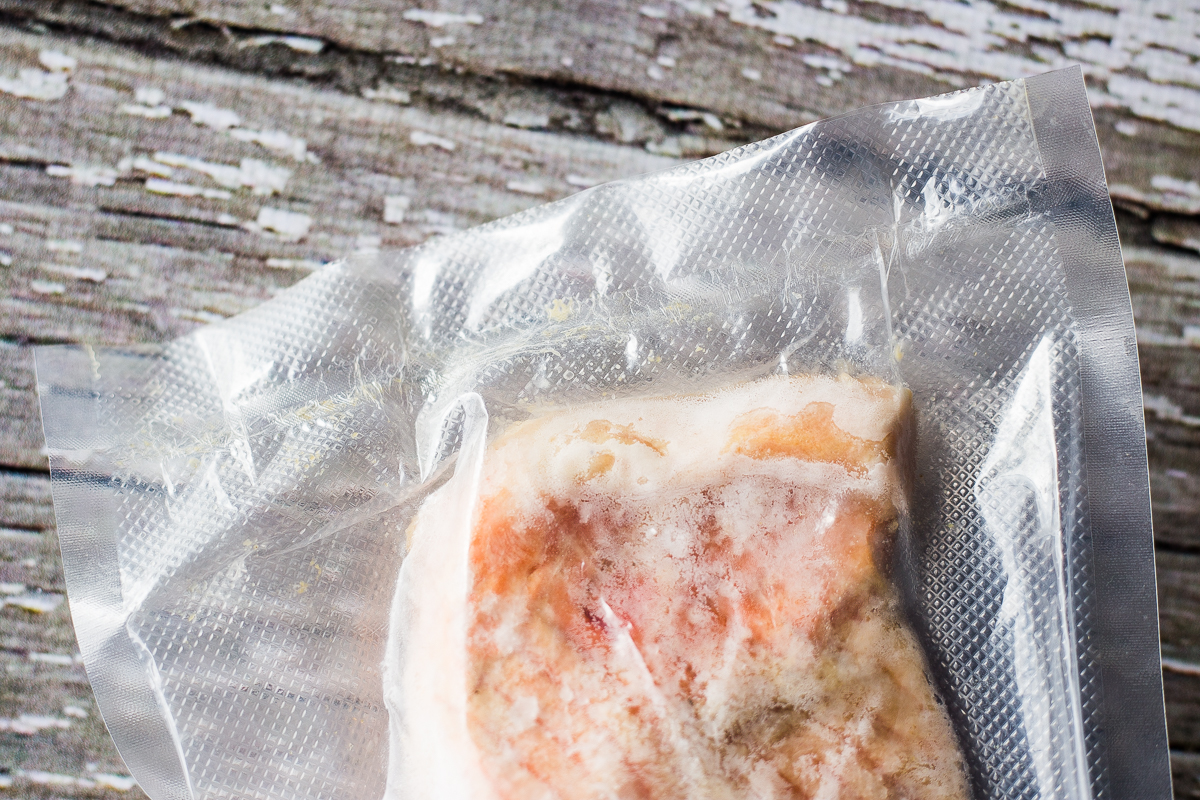
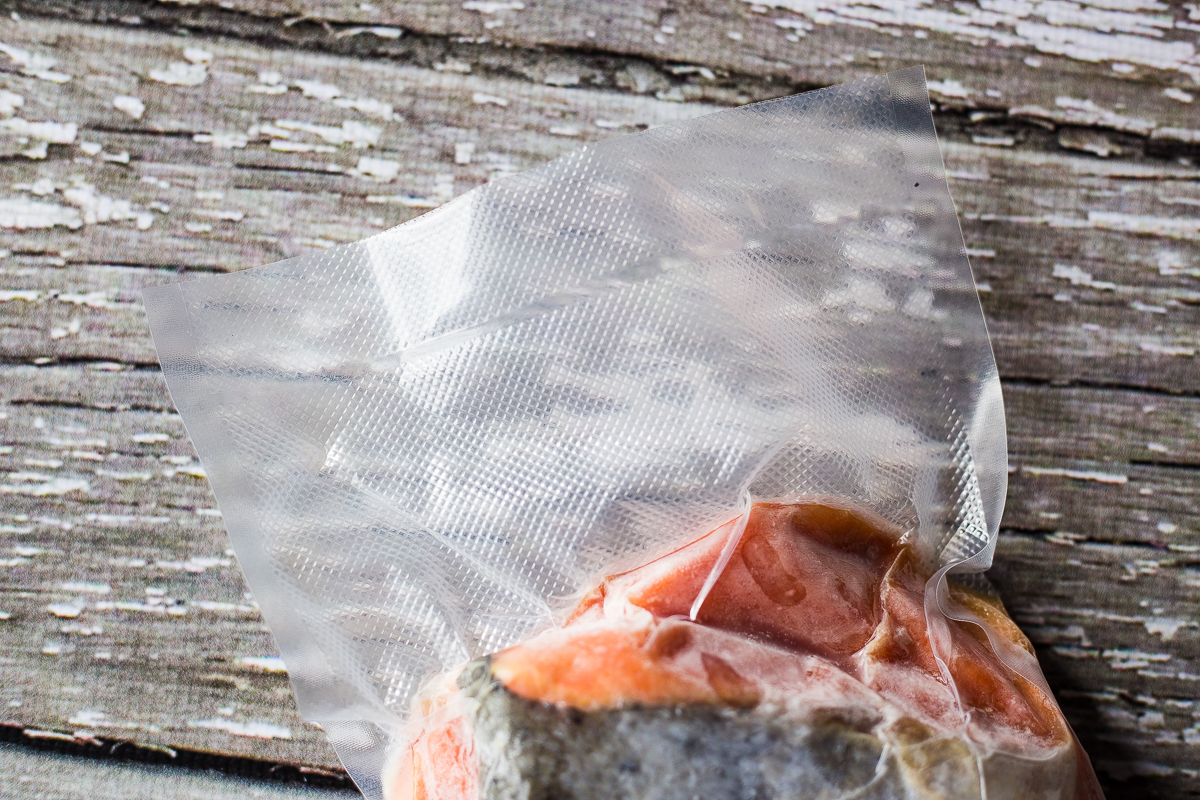
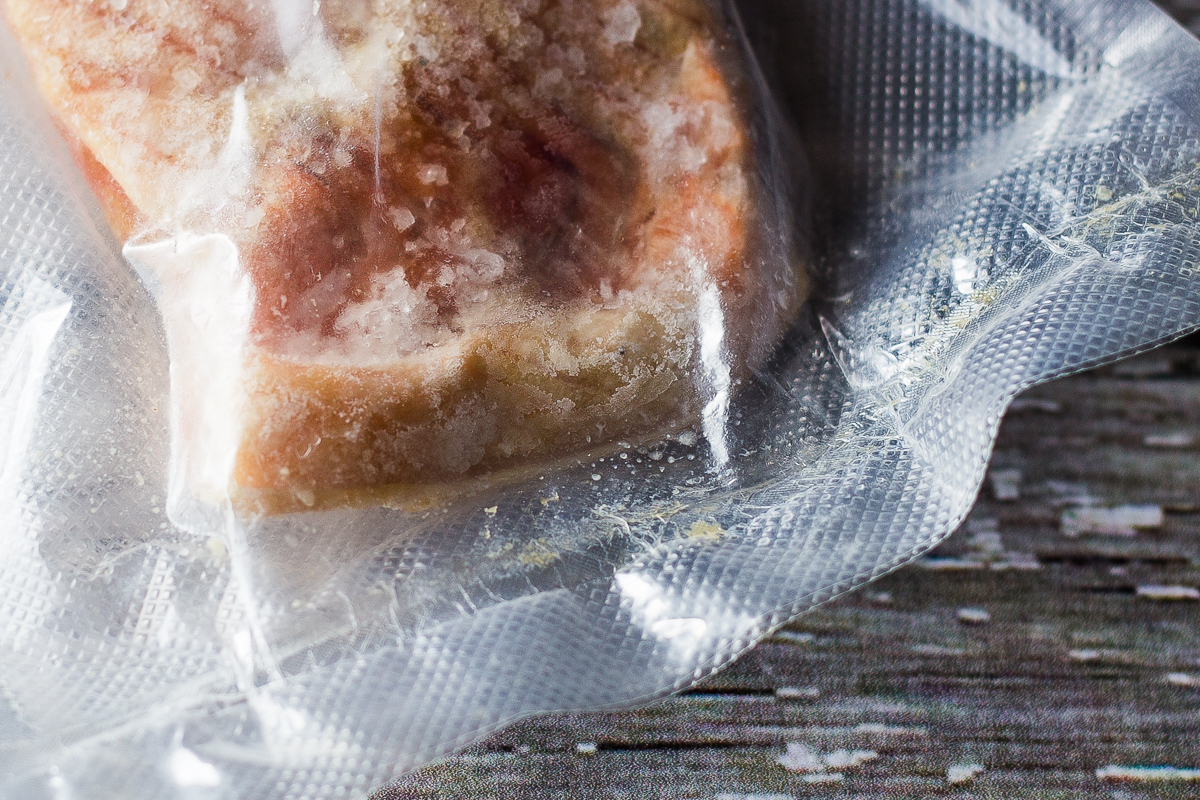
In the picture above, both were sealed and frozen at the exact same time. One with a good seal and one with a bad seal. Notice the difference? The salmon on the right is completely freezer burned and dehydrated. Not even sure you can tell what it is!
Below are some tips and steps you can take to ensure you are properly vacuum sealing so you don't have any wasted food!
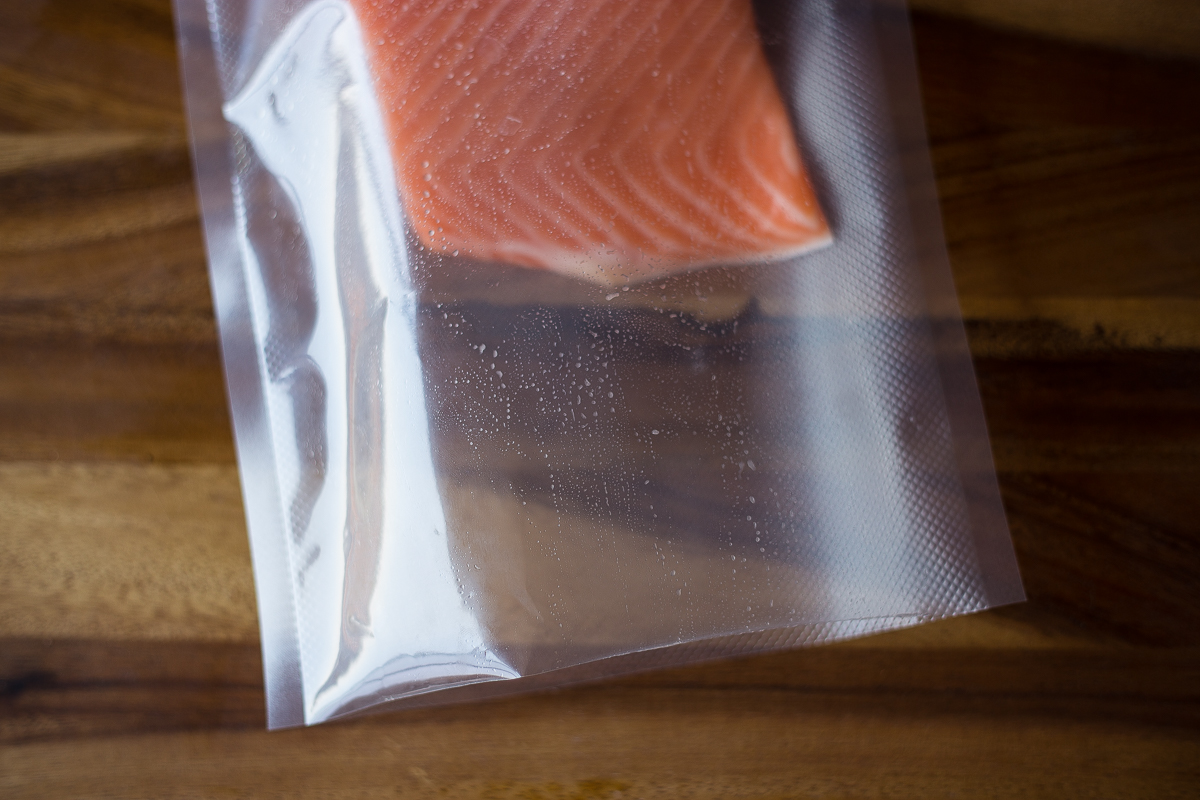
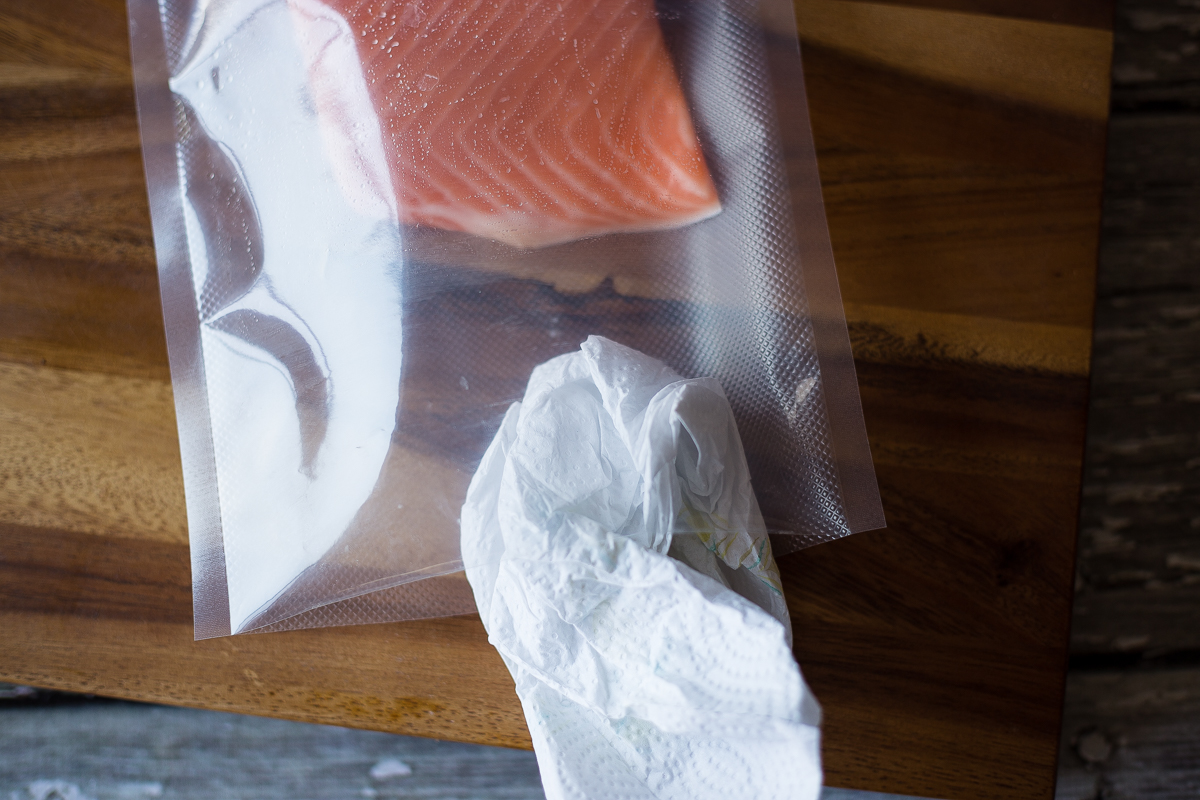
1. Be sure your sealing area is nice and dry.
If the sealing area gets wet from inserting your food, this can cause seal failure.
Just use a paper towel and dry the seal area.
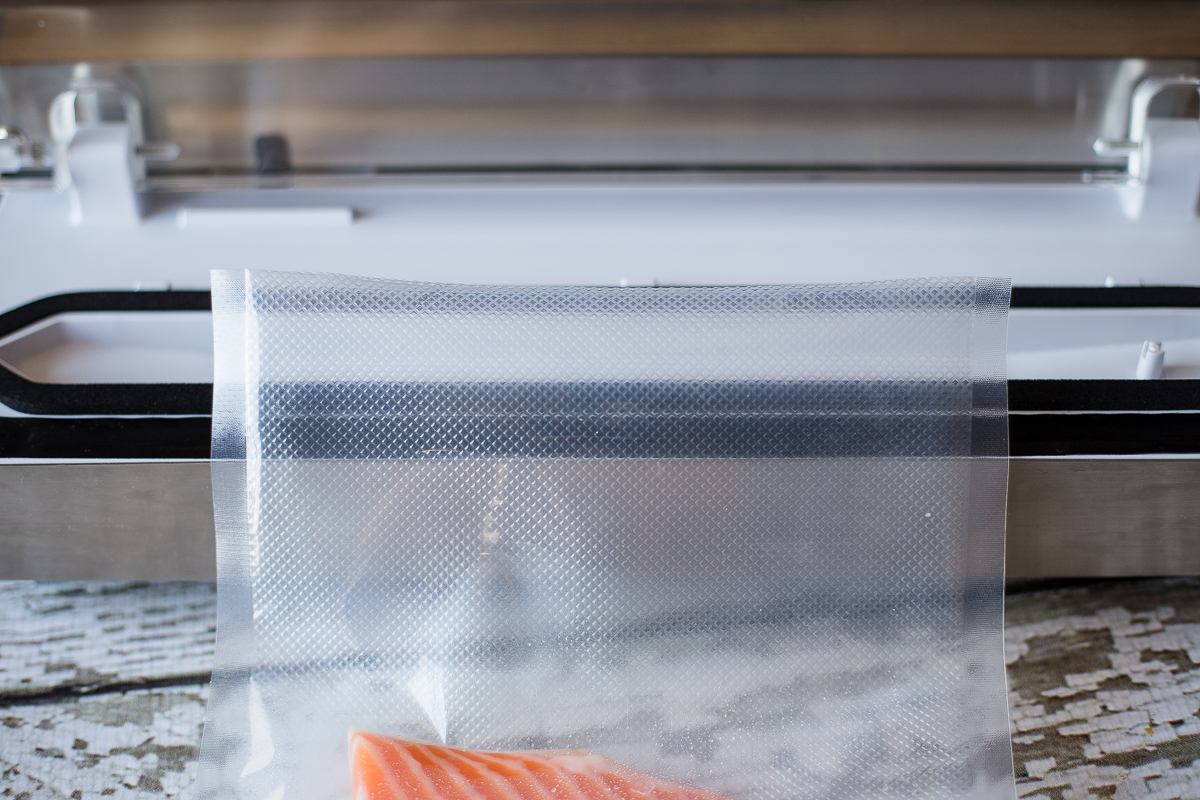
2. Be sure to leave several inches of headspace in your bag.
Not having enough headspace on your bag can make it difficult to place the bag flat across the seal bar area, which can cause wrinkles. If you need more head space, just use a bigger bag.
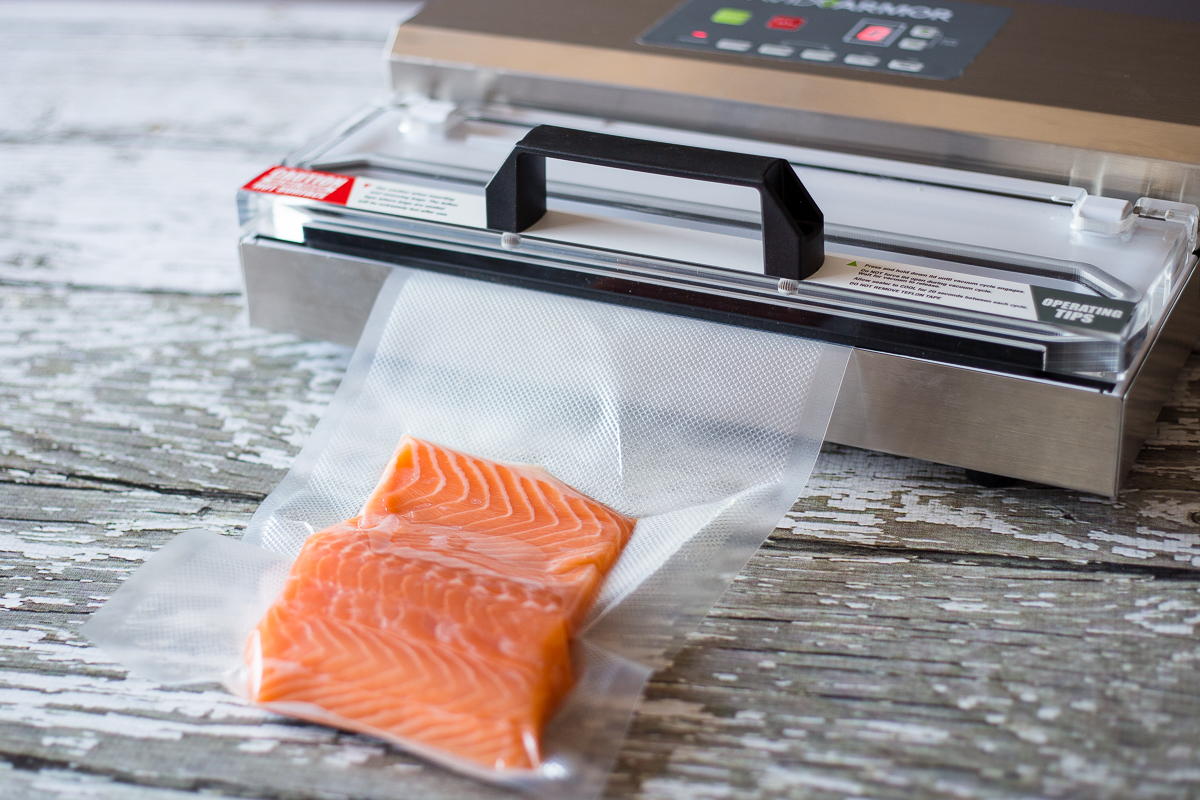
Below you can see difference between two bags. The first bag definitely needs more headspace and the second has plenty of headspace to get a quality seal.
3. Lay the bag completely flat across the seal bar.
If your bag is properly filled with a sufficient amount of headspace, it will be easy to lay the bag flat across the seal bar. If there are any wrinkles in the bag, the will create tiny air pockets in your seal, leading to bag failure.
4. Inspect your seal.
After you've vacuum sealed your food, make sure to thoroughly inspect every seal. If you see any air bubbles, wrinkles, or holes, you will want to re-seal to ensure no air leakage.
As you can see, this seal clearly didn't look good, and led to the bag losing its vacuum, and food getting freezer burned and dehydrated.

A quality seal, is free of wrinkles, and has a consistent look and size all the way across the bag.
If your vacuum sealer is melting the bag too much and creating tears in the seal, try decreasing your seal time on your sealer. It may be too long for your bags.
If your vacuum sealer isn't sealing the bags all the way through, try increasing the seal time. The bags may need a little more time to properly seal. Also, check your heat seal tape... it may need to be replaced if it has been overly used.
We hope you'll find these tips helpful to make sure you are getting the most out of your vacuum sealer and bags! Always reach out if you have any questions!